Menu
Chaslinux.com
  • About
  • Blog
  • Contact
  • My Tech
Chaslinux.com

Hardware detection script for Debian/Ubuntu-based Computer Refurbishers

January 13, 2022

Paper forms versus automation

One of the steps Volunteers have traditionally done at The Working Centre’s Computer Recycling Project is fill out a form outlining the specifications of each of our refurbished computers. Volunteers would grab an empty “spec sheet”, run phoronix-test-suite off a Debian-live image, and hand write the results on the spec sheet.

Over time we found there were a few problems with this method:

  • People don’t always have legible handwriting.
  • One person might write Intel Core i7-6700 @ 3.50GHz while another would write Core i7.
  • Sometimes complete areas of the spec sheet were incomplete

While it’s helpful for volunteers to know the differences in hardware, all the extra writing didn’t really seem to reinforce computing concepts.

Now that there are fewer volunteers working at our refurbishing project it seemed more useful to automate the step of hardware detection. Our current volunteers still use a Debian-live environment to make sure systems have the appropriate RAM and drive sizes for the processor installed, but rather than writing everything out they can now run this script, click on the specs.pdf file it creates on the users desktop, and print the PDF on our network laser printer. The printed PDF is then attached to the side of each computer.

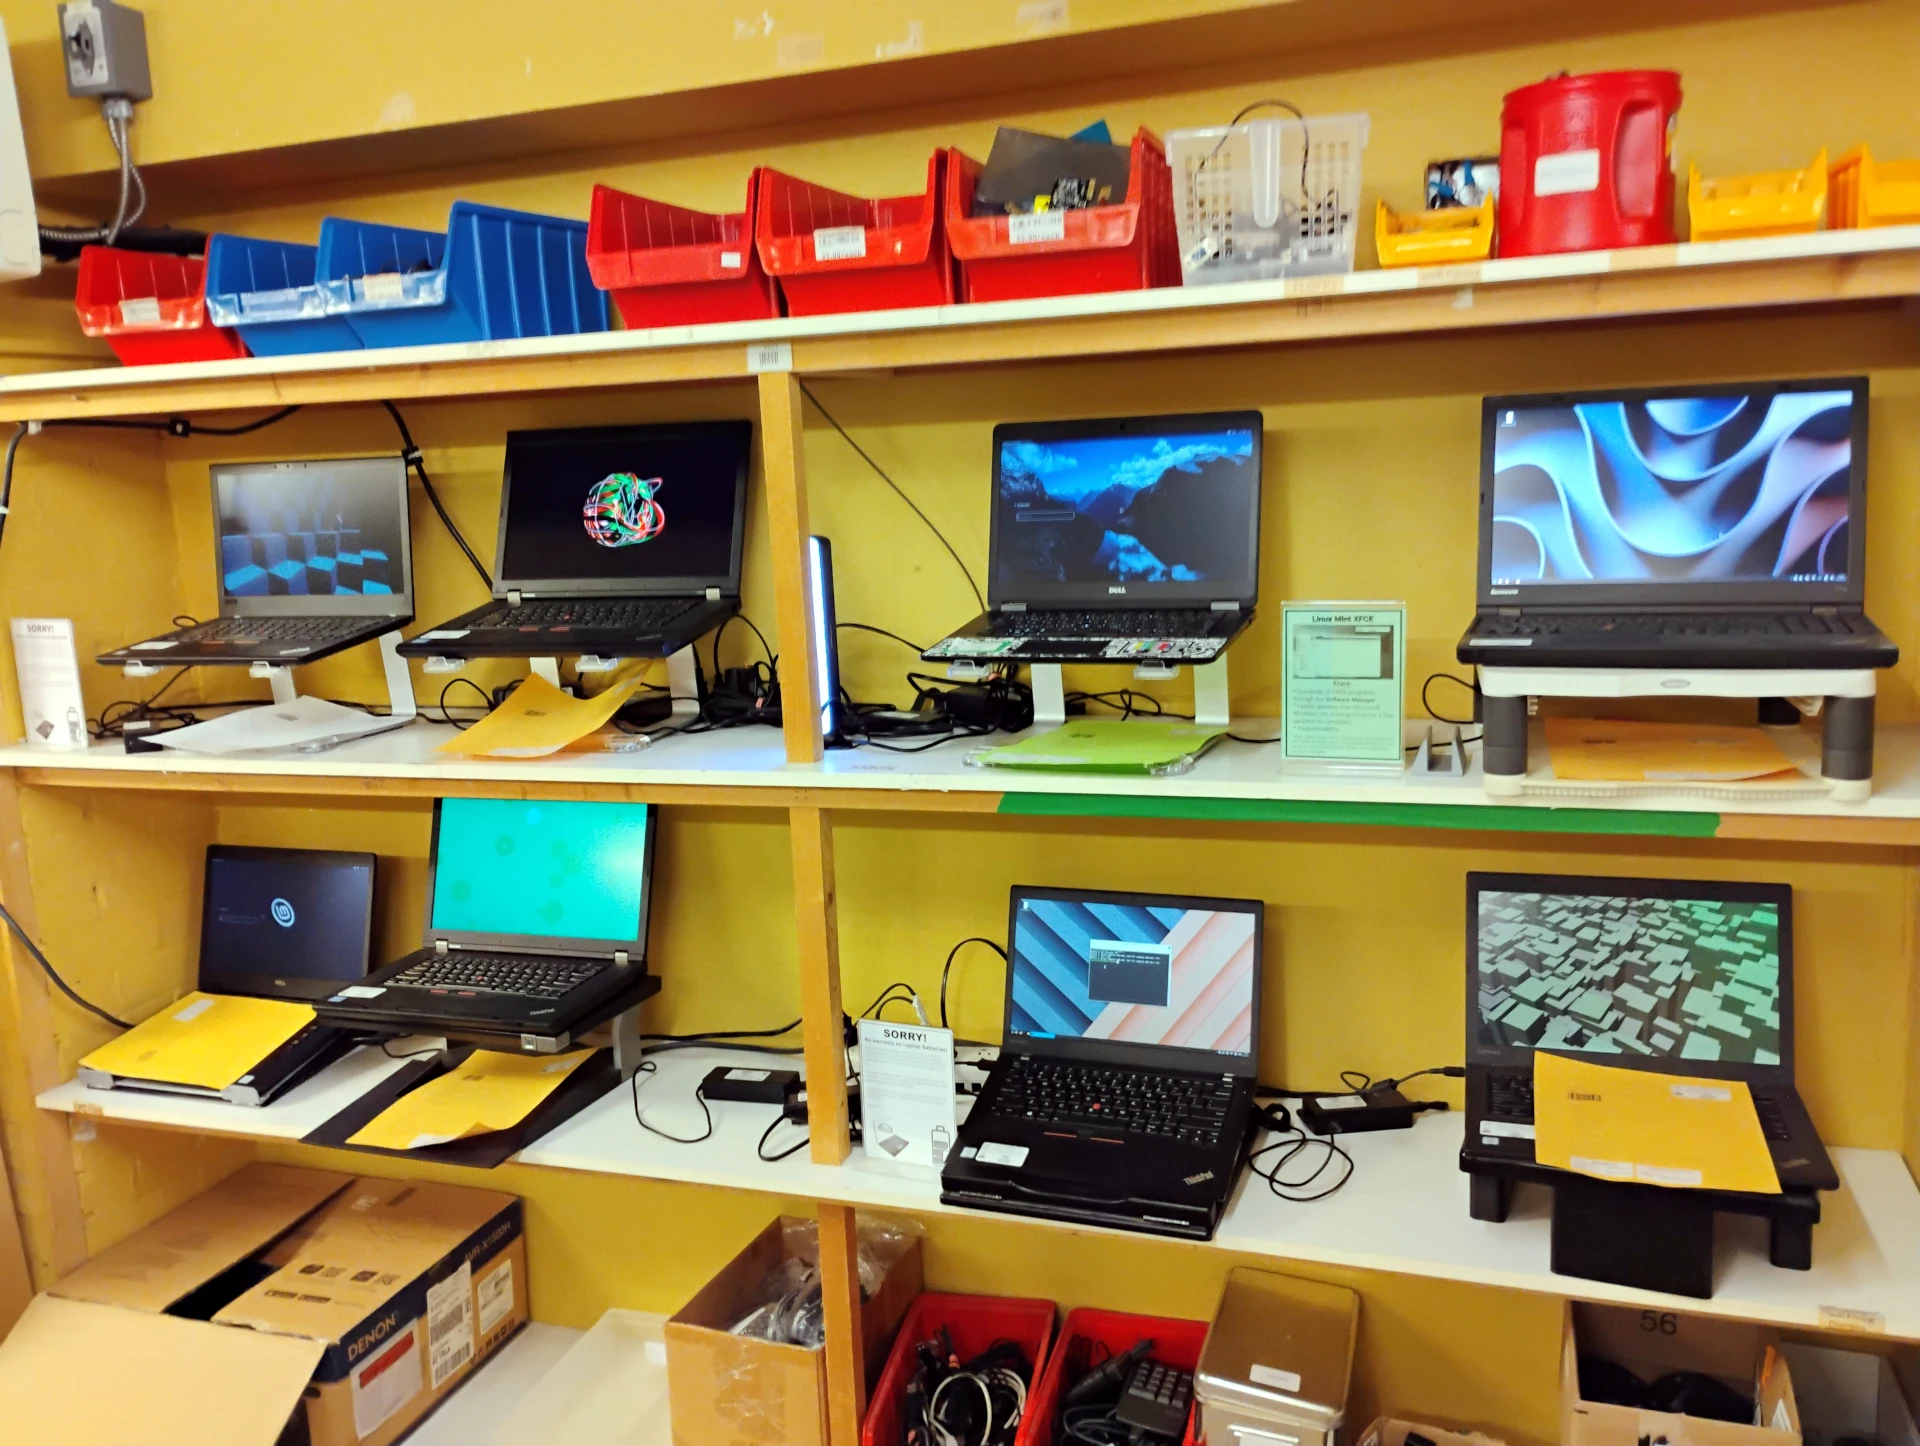
Computers at The Working Centre Computer Recycling Project
Laptops at the Computer Recycling Project

I am not a programmer. There will likely be bugs in this script, however, I have tested across a mix of 30 desktops and laptops. I debugged a bunch of bugs, but that doesn’t mean the script is bug free. This script makes a few assumptions:

  • You’re running a single hard drive/SSD/mSATA configuration at /dev/sda or have a single nvme drive (multiple may be in the future, but for now most of our systems are only running single drives or nvme + single drive)
  • Run as standard user (not sudo), you’ll be asked for the sudo password

Tested on Xubuntu 20.04 & 21.10

This script was mostly run on installations of Xubuntu 20.04, but has also been tested on a couple of systems running Xubuntu 21.10. Some of the systems tested on had unusual hardware (Atermiter X79 motherboard with a XEON E5-1650, an nvme and a SATA SSD). It shouldn’t have a problem running on any modern *buntu-based Linux distributions. The script installs a few packages in order to run/test hardware:

  • smartmontools – for hard drive information/detection
  • libcdio-utils – for cd drive information
  • acpi – for laptop detection and battery information
  • texlive-latex-base – for creating LaTeX documents and PDF documents

The script creates several files

The final output of the script should be a PDF on the user’s desktop that’s called specs.pdf. A few other files also appear on the desktop:

  • specs.tex – the main LaTeX document that gets converted to PDF
  • specs.log – a log of the conversion of specs.tex to specs.pdf
  • specs.aux – contains some typesetting information for sections

Once the PDF is created the other files are not needed. If the script fails for some reason the PDF will not be created and you will see an error in the terminal window. Please forward a screenshot of this error to chaslinux @ gmail.com along with the specs.tex file so I can troubleshoot the issue.

Installing and running hardware.sh

The hardware.sh script it hosted on github. Downloading the script using git is probably the best way to get the latest implementation of the script. It’s a good idea to grab the latest version of the script as it reflects testing on more equipment. At the moment the script has been tested on a mix of 30 desktops and laptops. Since I have access to a lot more equipment the script will likely continue to evolve.

Step #1 – install git on the machine you intent to install hardware.sh on:

sudo apt install git

Step #2 – make a directory to clone the repository in and change into it:

mkdir ~/Code
cd ~/Code

Step #3 – clone the hardware.sh repository

git clone https://github.com/chaslinux/hardware.sh

Step #4 – change into the hardware.sh directory and run the hardware.sh script

cd ~/Code/hardware.sh
./hardware.sh

After typing ./hardware.sh the script should run. (note that the period and slash are needed to run the script – or you can run sh hardware.sh). The first part of the script installs software necessary for the script to do the hardware detection and output to PDF format. The script takes the results of the hardware scans and puts them in a LaTeX file (specs.tex). At the end of the script a LaTeX parser, pdflatex, runs on the LaTeX file and (hopefully) creates specs.pdf on the logged in user’s desktop. This can then be printed, emailed, or stored in whatever manner you’d like. The script also creates specs.log, and specs.aux. These files can be deleted if the script doesn’t run into any issues (for example: stopping before creating the specs.pdf file).

Improving hardware.sh

I’m not a programmer. My git skills are very minimal. At some point I might figure out merging code, branching, etc., but for now my main concern is just getting the script out there so other refurbishers can use it. I welcome suggestions and will try to improve the code as I hear back from people. Feedback is important, and I especially would like to see the specs.tex files from machines where the script failed to work. Thanks for checking out the script and maybe I’ll get a chance to meet some of you at the project sometime.

Leave a Reply Cancel reply

You must be logged in to post a comment.

This site uses Akismet to reduce spam. Learn how your comment data is processed.

Recent Posts

  • Learning Gamedev on a Xubuntu Laptop (workspaces)
  • Eliminating Xubuntu’s Alt key behaviour for gamedev
  • What can you do with a Thinkpad T430s running Xubuntu in 2022
  • Syncthing – Synchronizing my Android cell phone with Xubuntu
  • Install Google Chrome in Xubuntu Linux 20.04

Recent Comments

No comments to show.
©2022 Chaslinux.com | Powered by WordPress and Superb Themes!