The World of Retro Computing, 2026
The World of Retro Computing is an annual event, held within Waterloo-Region, southwestern Ontario, Canada. In past years the event has been held in different cities: Cambridge, Kitchener, and this (2026) year in the city of Waterloo.
The event is a free-to-attend 2-day expo of retro computer, and gaming hardware (though I believe any donations are appreciated by the event organizers). The expo includes hands-on vintage computers and gaming displays, guest speakers, vendors, workshops, repair stations, a LAN party area, and more activities.
Computer Recycling’s participation in WoRC
The Computer Recycling Project has had a table at the World of Retro Computing a couple of years. The project also provided a few prizes for the event’s raffle. This year I have too much going on for the month of September, so while we won’t have a table at the expo, I still planned for the project to provide a few prizes.
Prize #1 - Tiny Form Factor PC with a bit of punch
While Computer Recycling occasionally gets donations of personal computers that could be classified as “retro,” our focus has always been on helping folks with older technology that’s still usable for most everyday tasks. Most of what we build at the project is within the Intel 3rd generation (2013) to 8th generation-era (2018) of equipment.
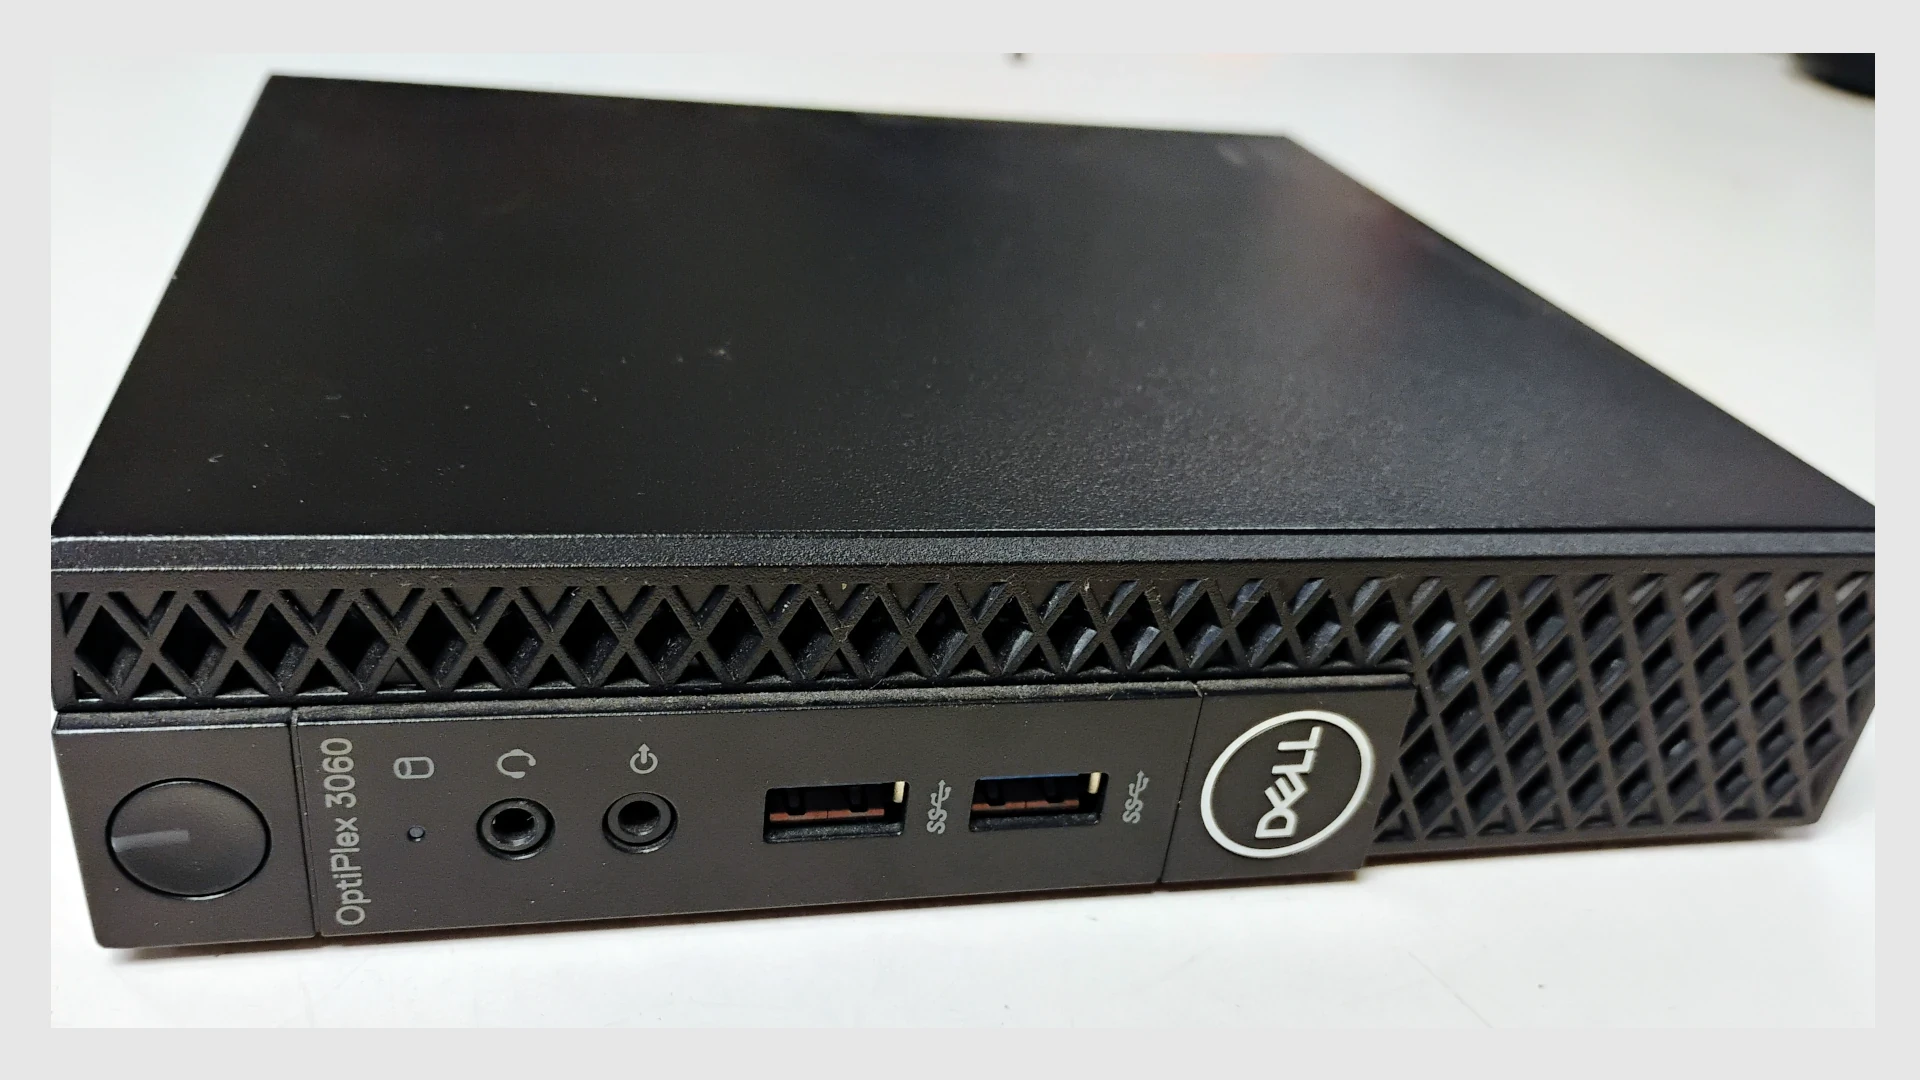
I thought it would be nice to provide something with a bit of punch (6 cores, and 6 threads), but still small enough that it would be easy to carry home, and easy on energy: Enter the Dell Optiplex 3060 Tiny Form Factor PC!
- Intel Core i5-8400T CPU (6 cores with 6 threads)
- 16GB DDR4 RAM (upgraded from 8GB)
- 256GB NVMe drive + 500GB Samsung 850 EVO SATA SSD (upgraded from a single M.2 SATA SSD)
- Bluetooth 5.1 & Wifi 5 (802.11ac)
Donations are not always in working condition (reseller/remarketer/refurbisher)
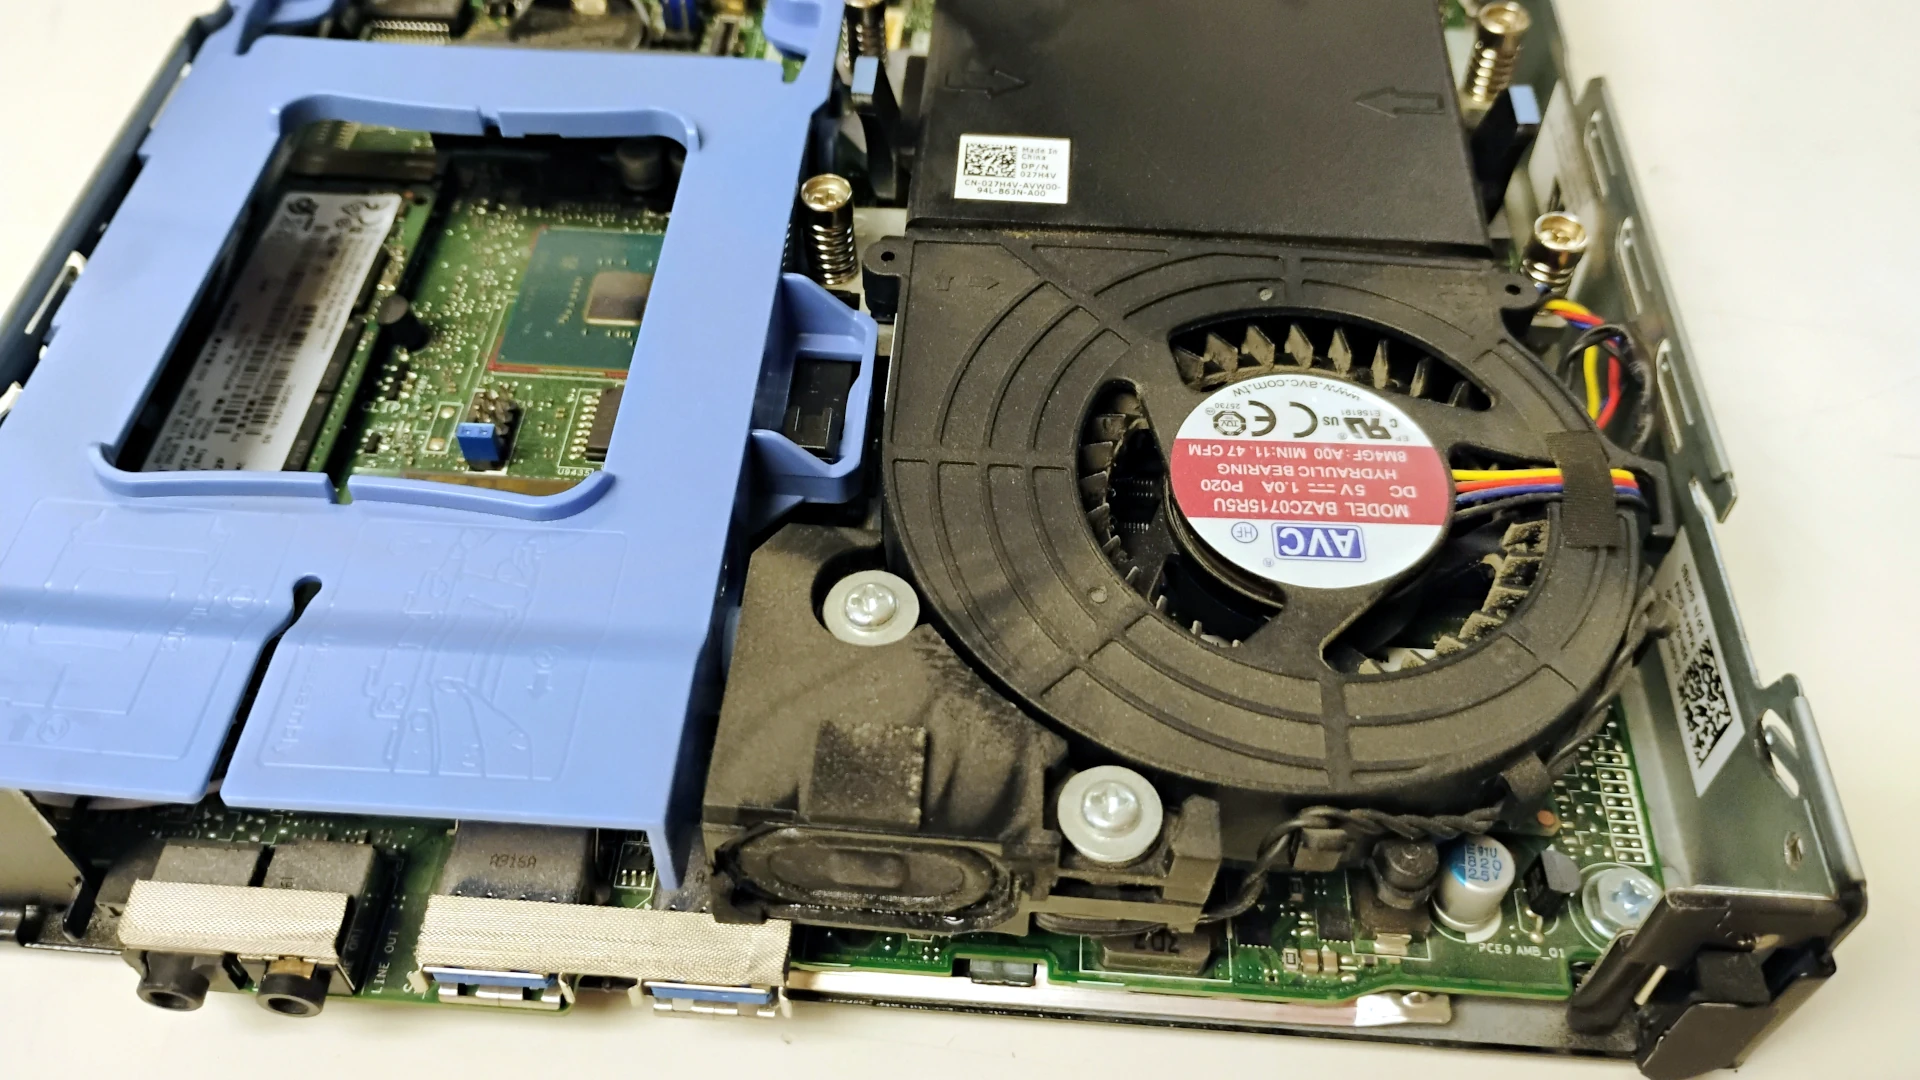 Fig 1. It’s unclean!
Not every computer that comes into the Computer Recycling Project is in pristine condition. Sometimes there’s an impression that everything we see “just works” and we just have to pass it on to the community. There’s a lot more work involved in refurbishing than might first meet the eye. The project maintains a LibreOffice Writer checklist of Laptop Refurbishing steps on GitHub. One of the very first steps in that checklist involves cleaning a computer.
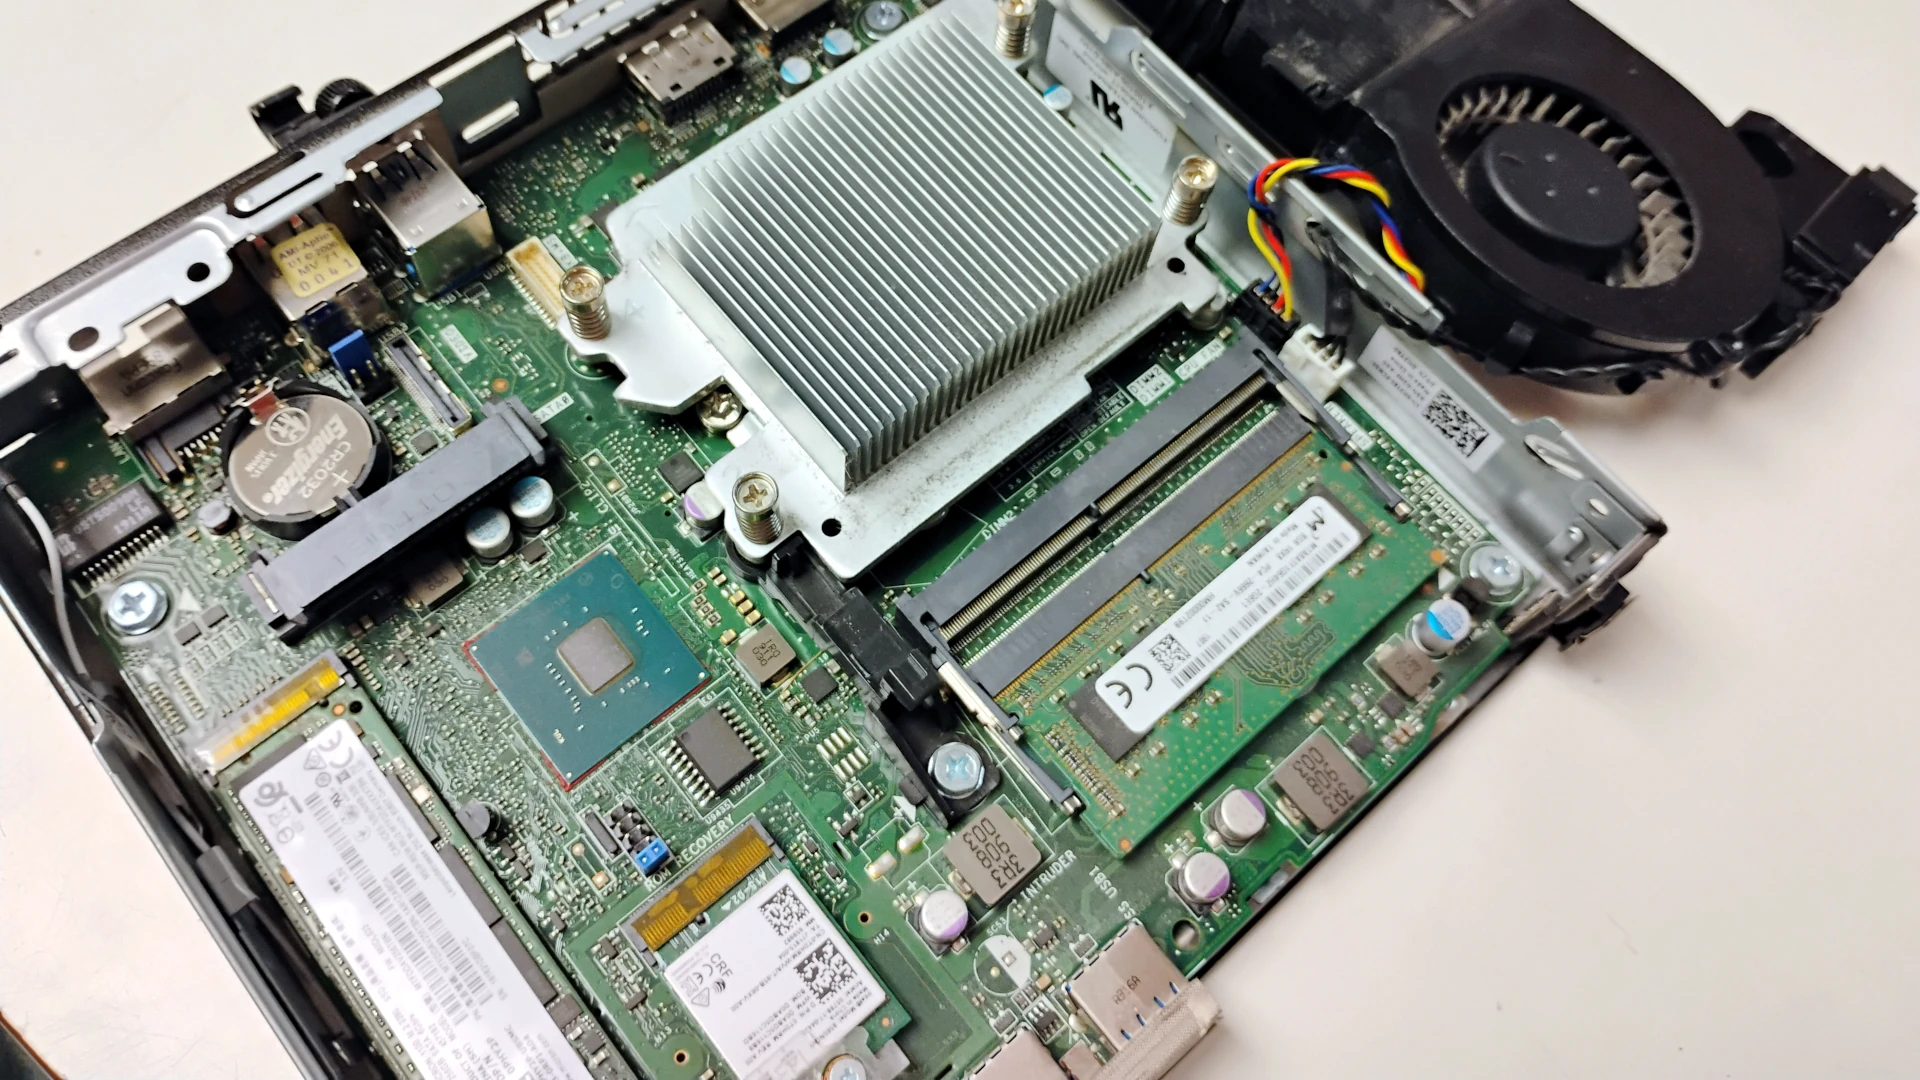 Fig 2. The Optiplex 3060 after an initial dust-blowout.
Upgrading and adding components
After an initial dust blowout, it was time to upgrade some components. The system had a single 8GB DDR4 SO-DIMM. While 8GB is fine for some basic browsing and creating documents, more RAM is always nicer. Unfortunately we didn’t have any 16GB DDR4 SO-DIMMs on hand, so I found a matching 8GB SO-DIMM to bring the overall total to 16GB.
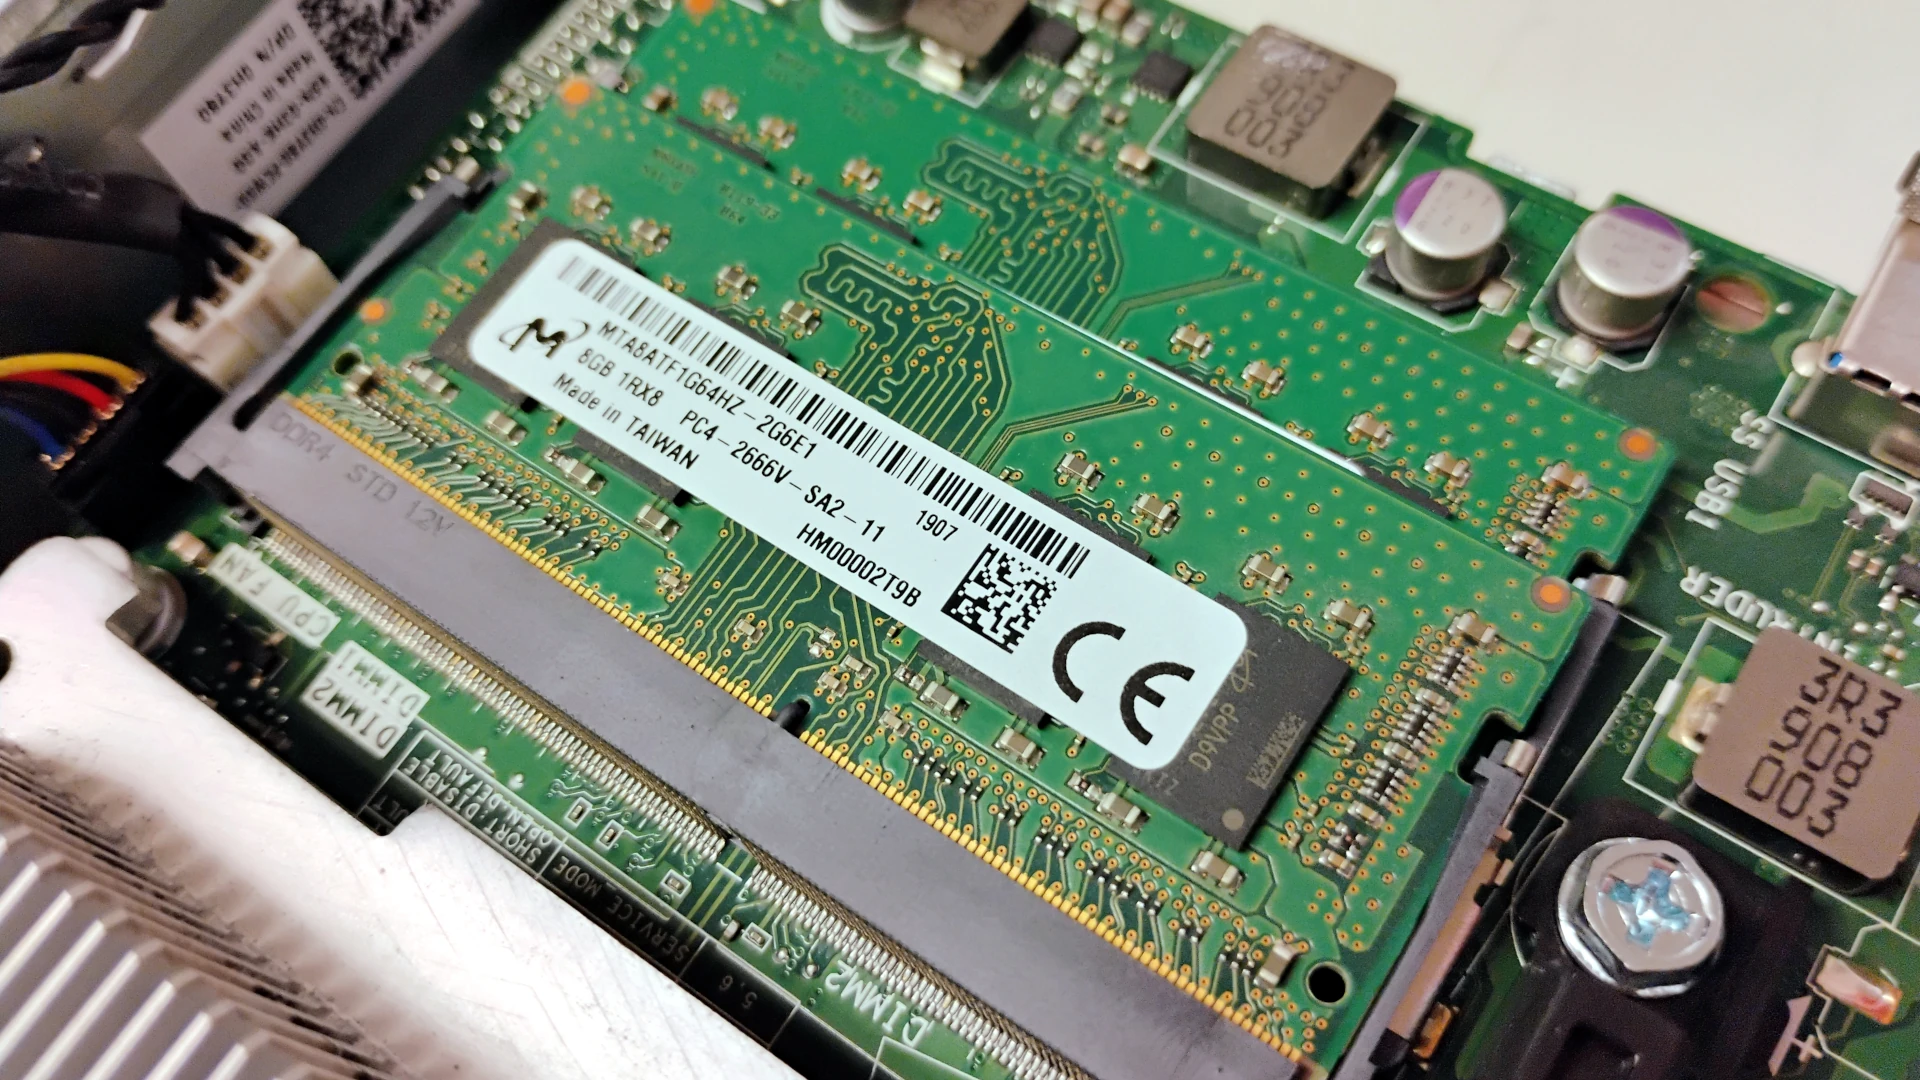 Fig 3. Upgraded from 1 x 8GB RAM to 2 x 8GB RAM (16GB total)
Initially the Optiplex 3060 had a 256GB SATA M.2 drive for storage. Like RAM, storage is pretty expensive compared to a couple of years ago. Sadly, most of the solid state storage we have is 256GB or less, but I figured I could do a little better than the single SATA M.2 drive.
While we didn’t have any M.2 drives larger than 256GB, I swapped the SATA M.2 drive for an NVMe/PCIe M.2 drive of the same size, and added a Samsung EVO 850 2.5" 500GB SATA drive as secondary storage. The 2.5" drive sits atop the M.2 held in by a plastic bracket.
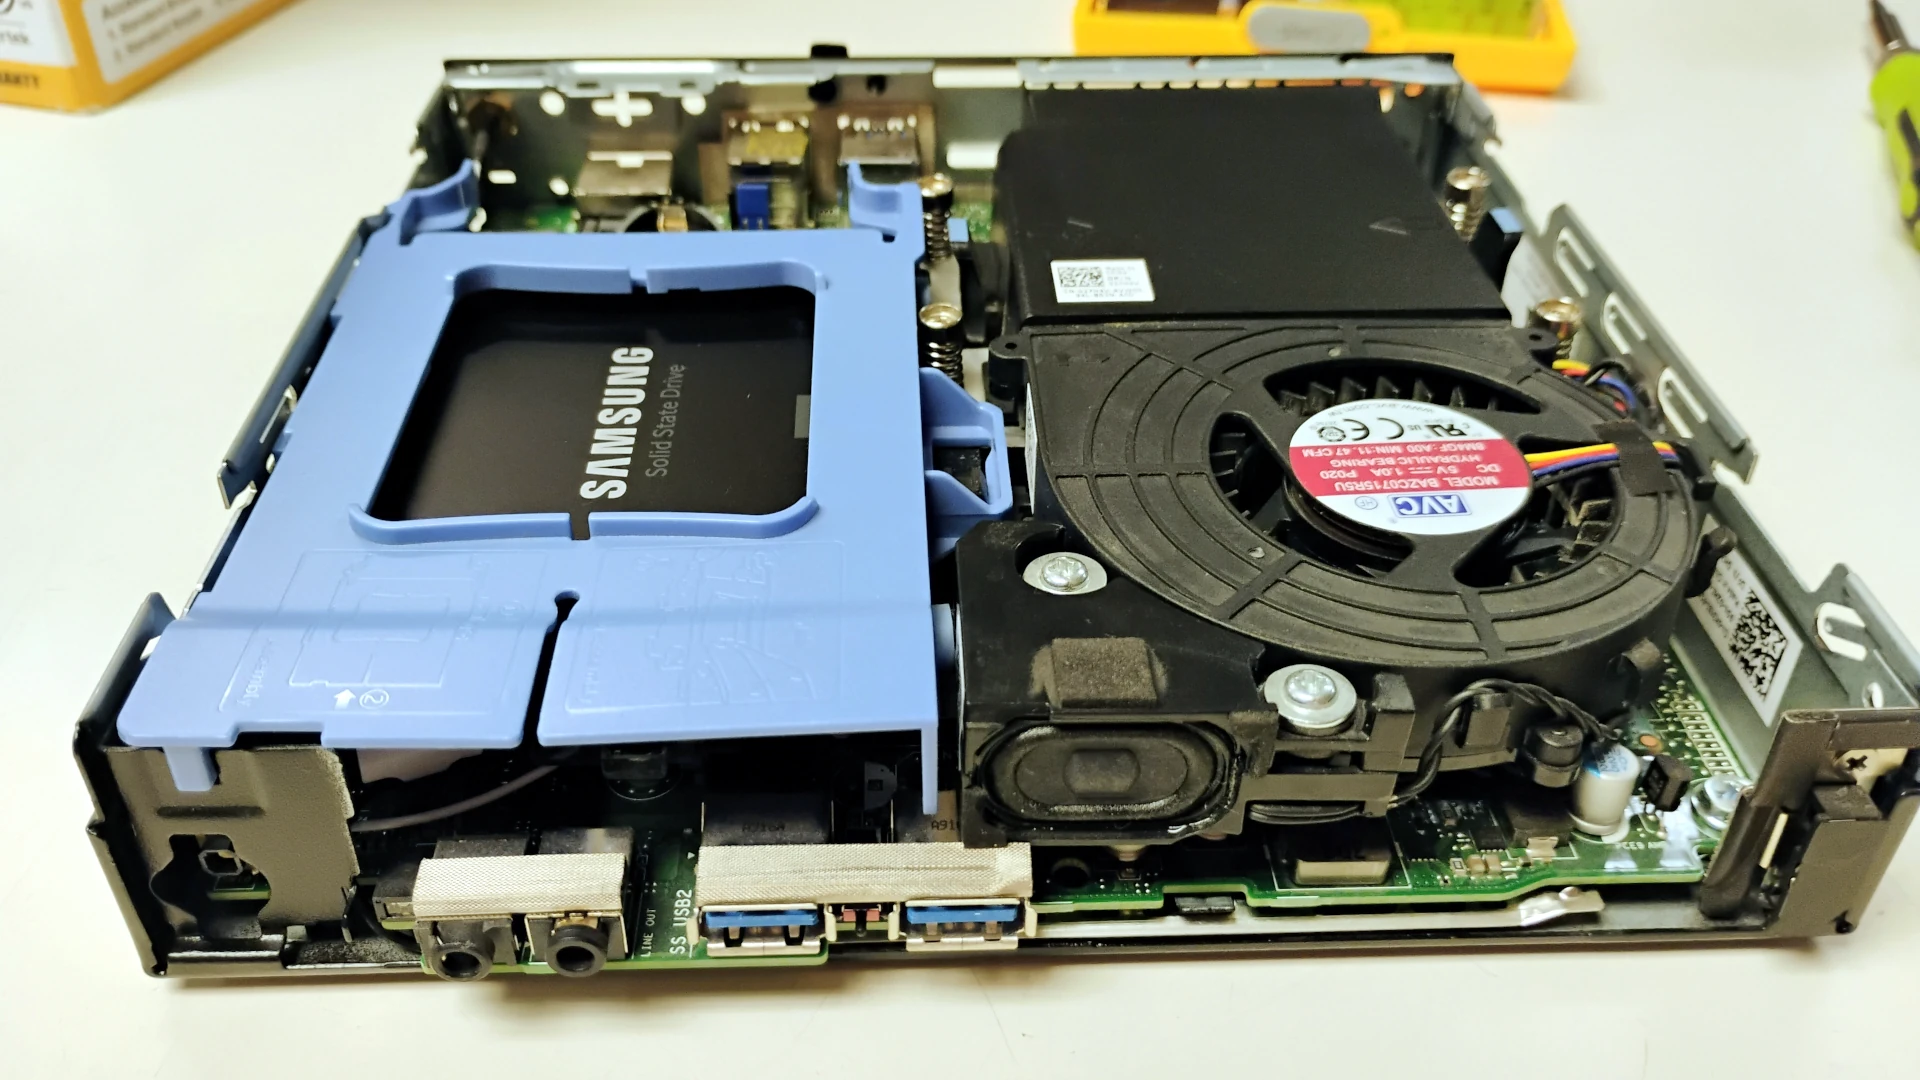 Fig 4. Adding a 2.5" drive and NVMe (hidden)
Verifying hardware and BIOS settings
Computers from corporate environments sometimes have significantly different settings in the BIOS than a home PC might have (RAID, for example). The next step I took was to verify the changed hardware was appearing in the BIOS, and to adjust settings that needed adjustment.
Typically, we enable UEFI (if disabled), turn off CSM, disable Secure Boot, enable UEFI PXE booting, change drive RAID setting to AHCI, and enable any SMART drive reporting. In order to enable PXE (Network) booting, we sometimes have to adjust 2 or 3 settings in the BIOS, and reboot, before those settings come into effect.
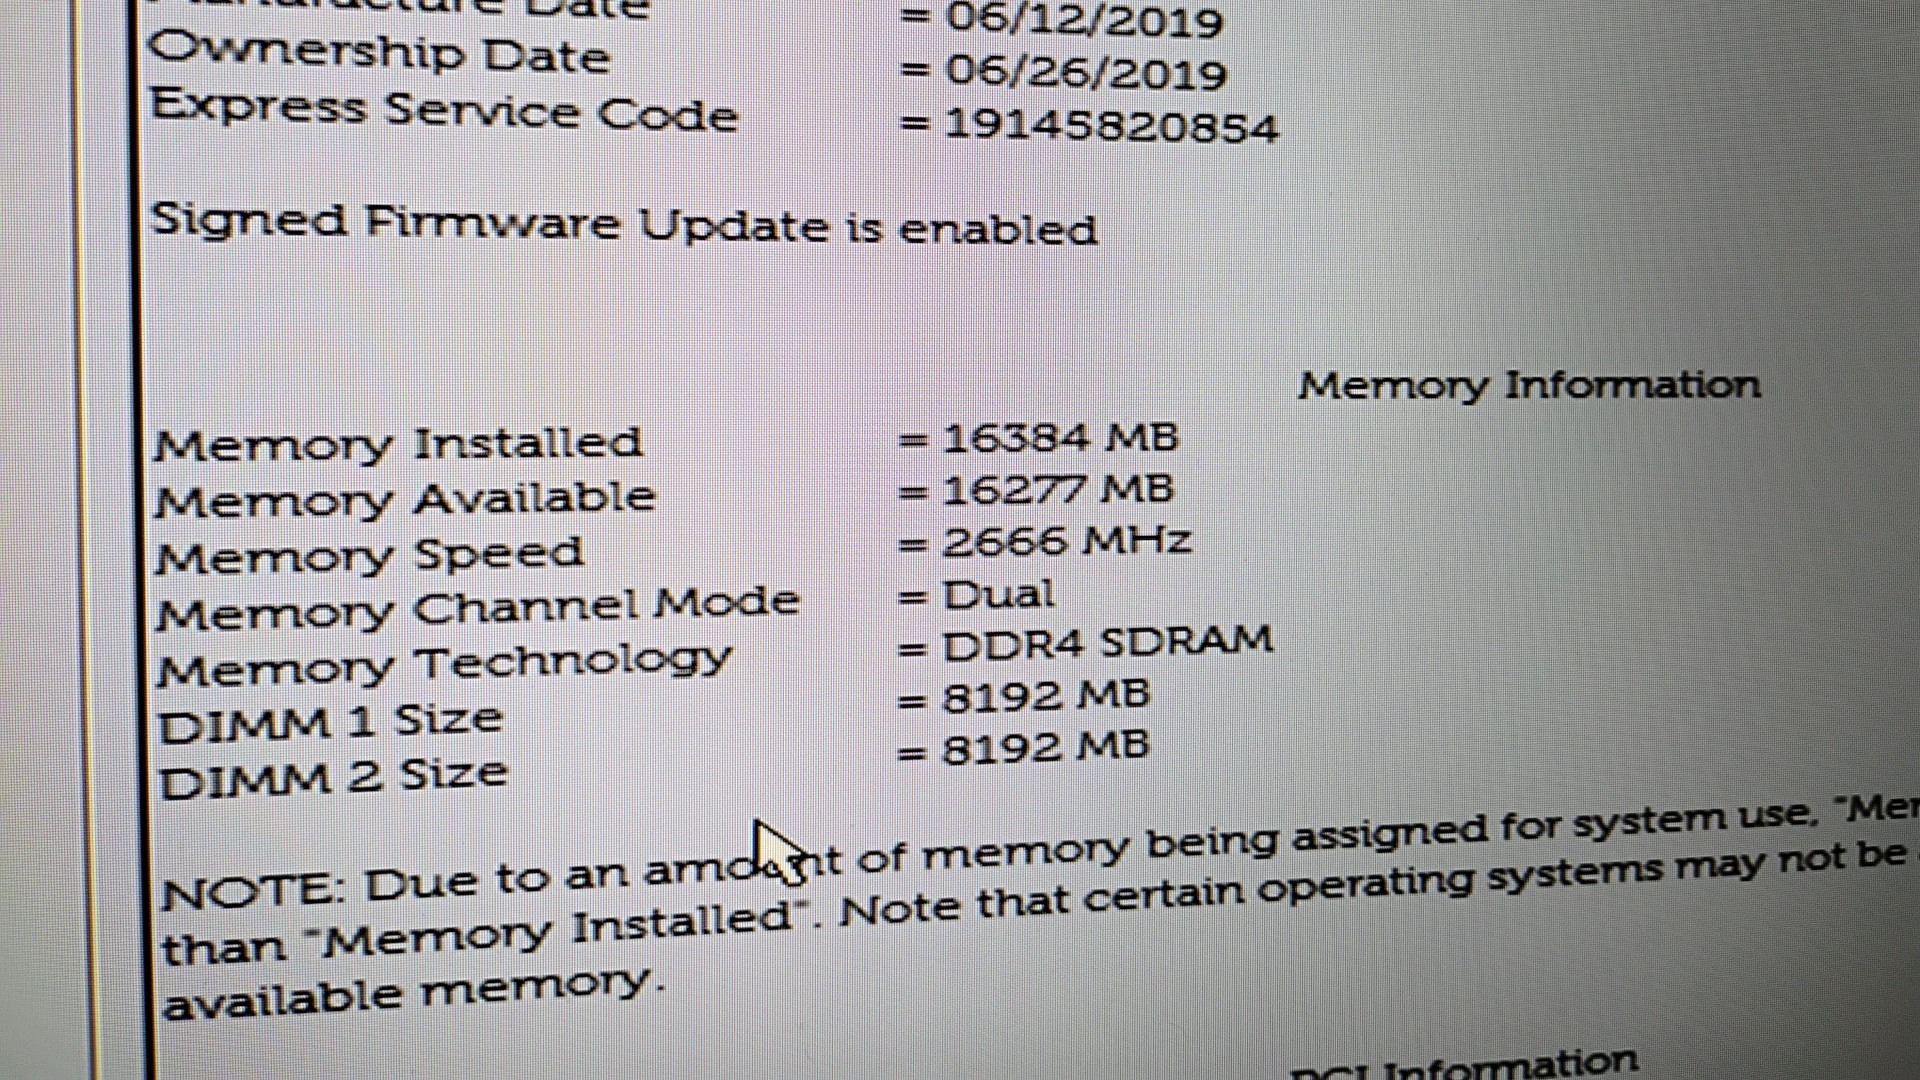 Fig 5. Verify RAM and drives in the BIOS.
More testing and initial installation
At this point we usually PXE (Network) boot the computer and run different tools to test hardware. A number of modern systems have hardware testing tools built-in to the BIOS, but we’ve found these are not always reliable (built-in RAM testing is sometimes just a very rudimentary test compared to Memtest86+)
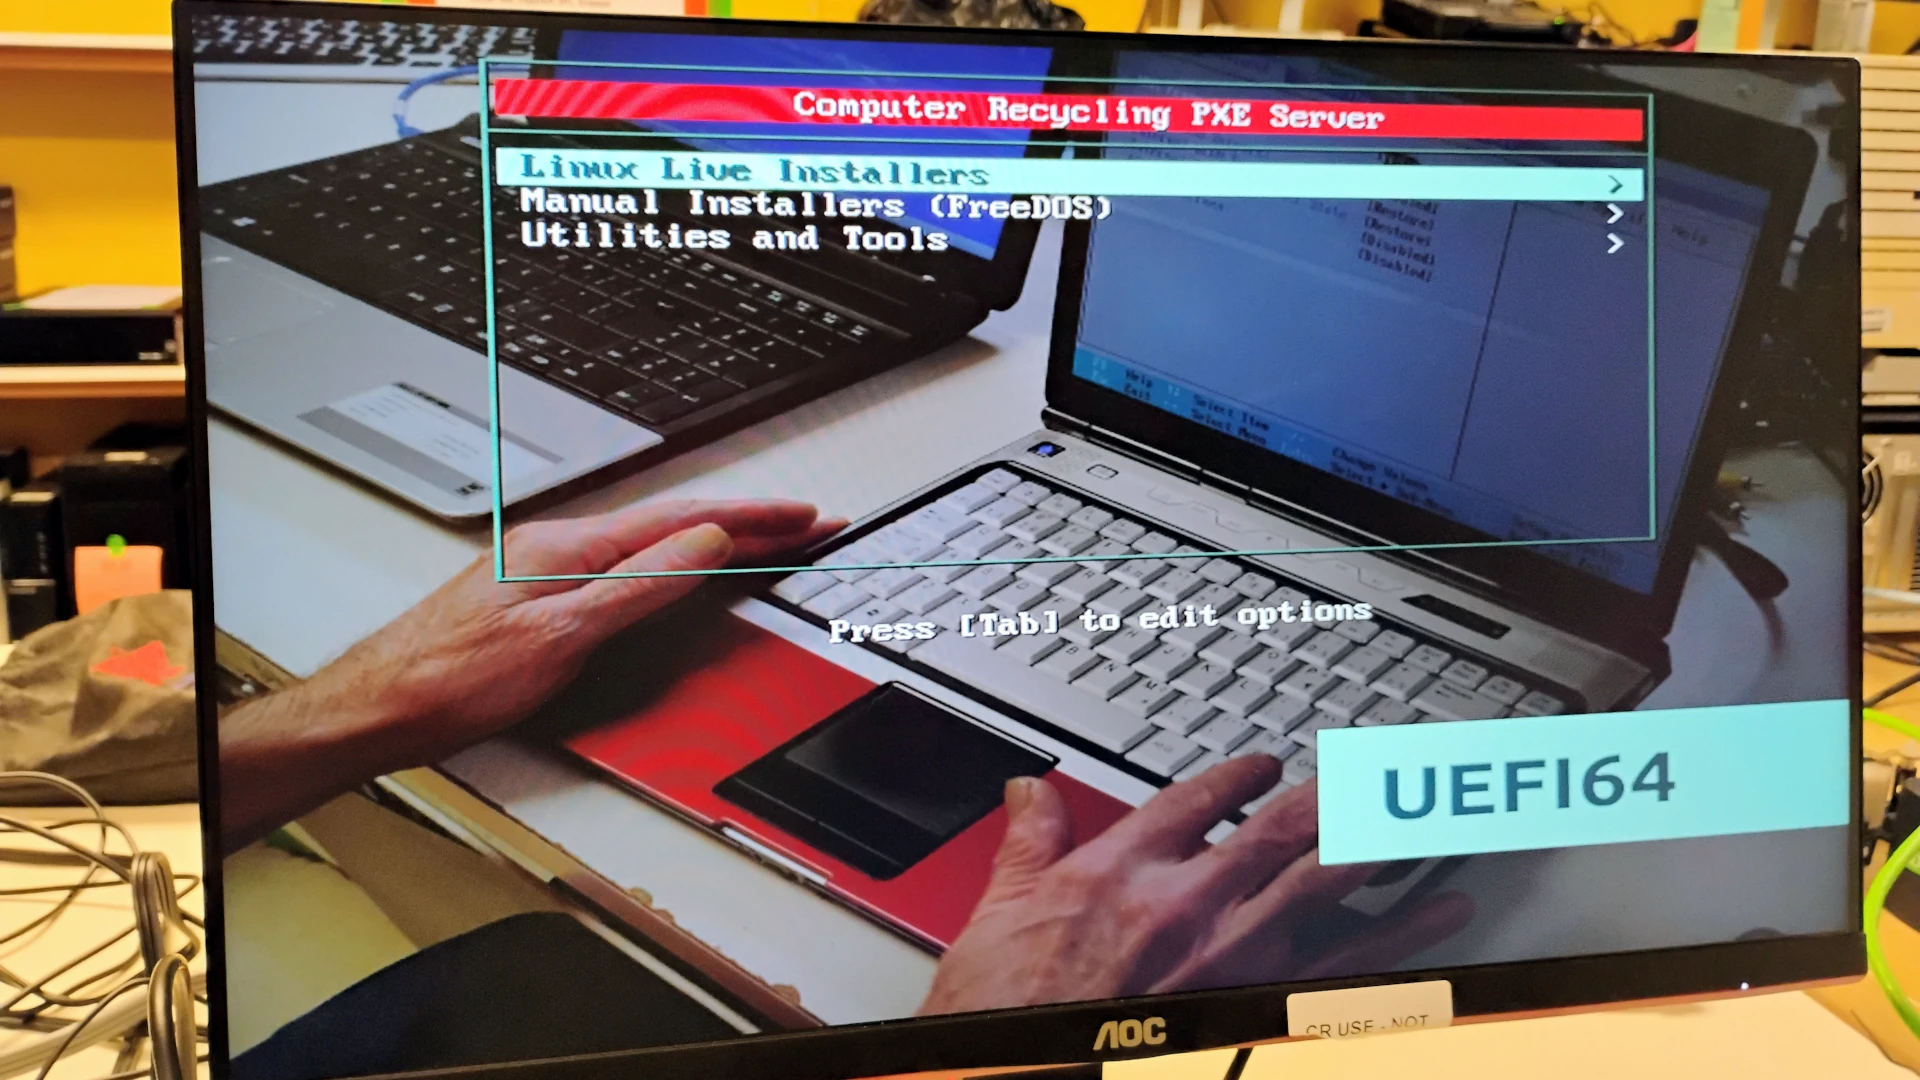 Fig 6. Testing and installation via our custom PXE server
Installation, special setup
We used to automate the entire process of installation using our PXE server. Installation took almost an hour because the system was installing from a base image, adding lots of software, running updates, and doing other customizations, all with very minimal interaction from volunteers. While this is a great idea if you’re running an enterprise environment, I wanted to involve volunteers more in the process. So, rather than use typical automation methods, we PXE boot live images, then run BASH scripts post-install.
And while this seems horribly inefficient, and it is, it has some unusual benefits:
- Volunteers learn the basics of making a directory (to hold our scripts), installing git, pulling a repository, and running a script
- People with programming experience can contribute back to the project, even if they don’t live anywhere near the project. For example: Alan Pope has a commit to our hardware.sh script.
- Our scripts are available to other refurbishers, or individuals who might want to do the same thing.
- Folks who do want to set-up a similar environment don’t have less to learn and maintain than other methods.
- It allows for special setups, like multiple drives.
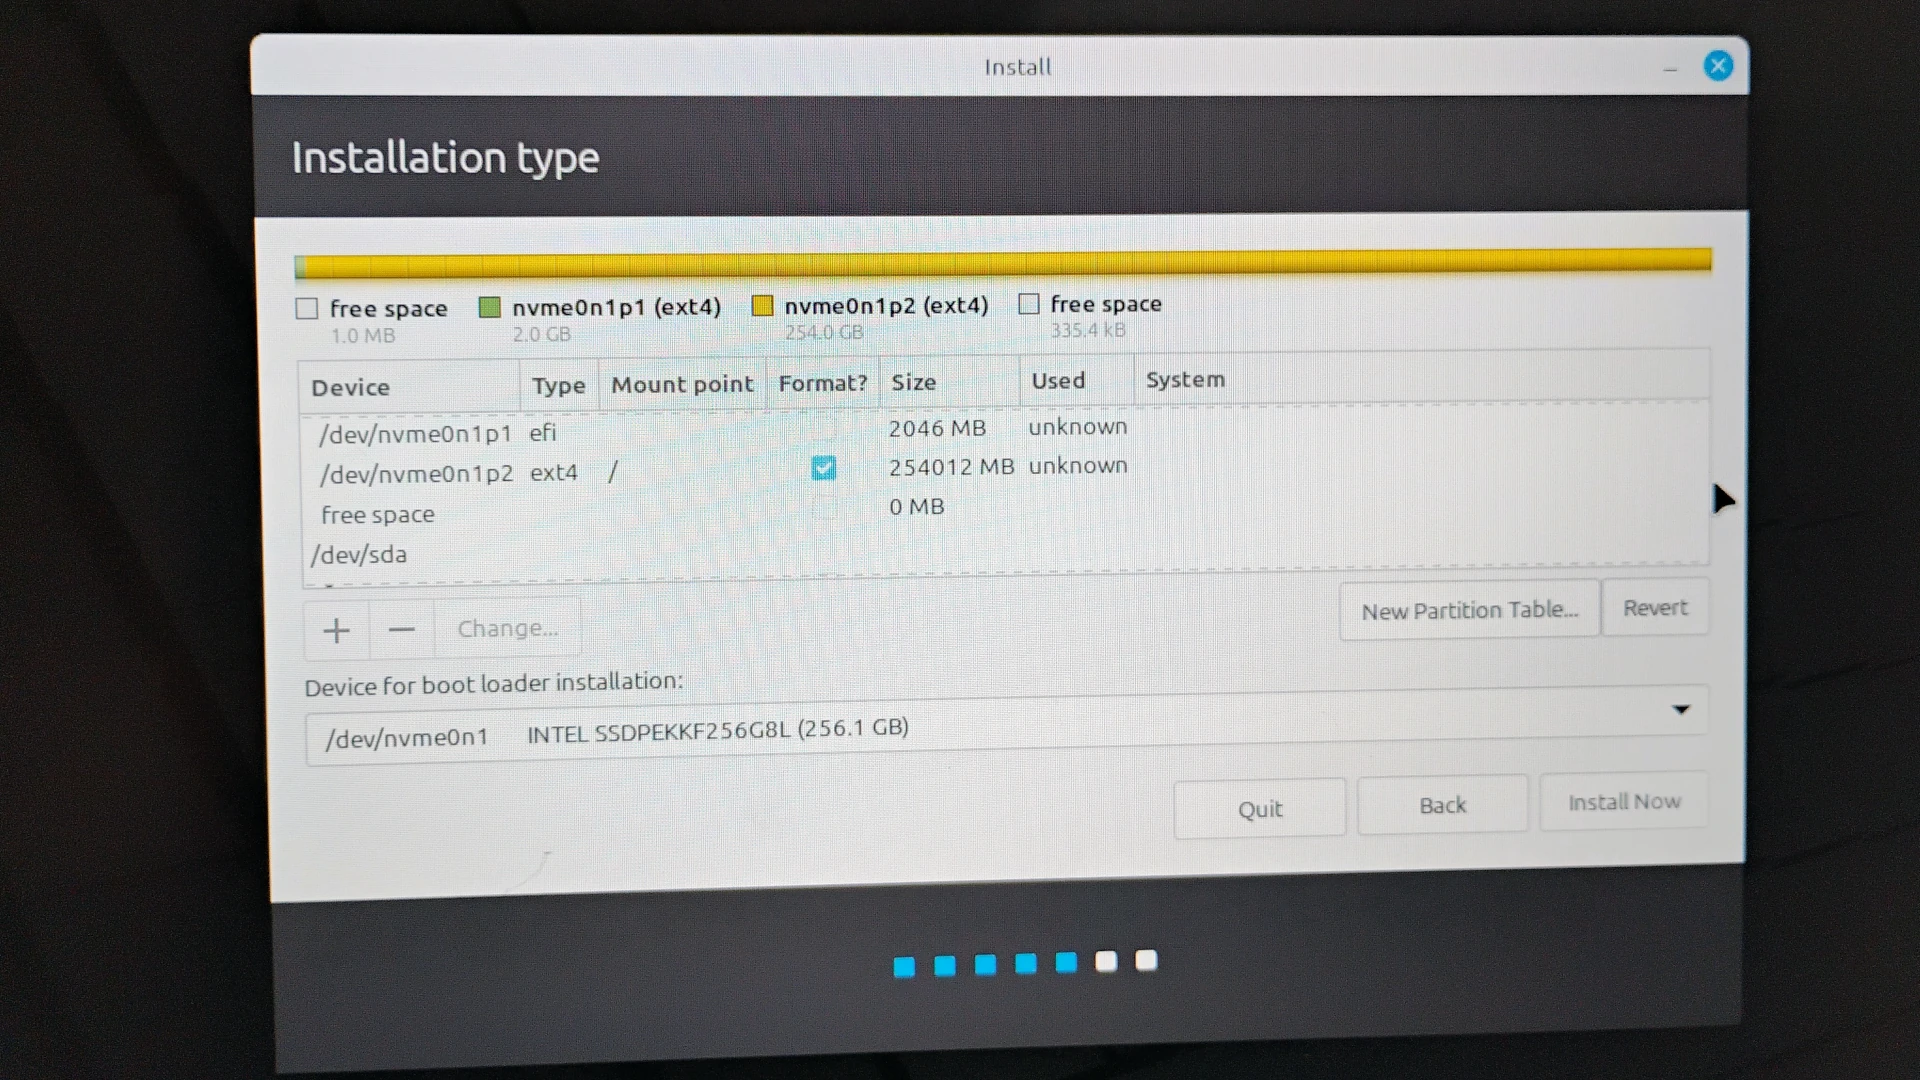 Fig 7. Partitioning both drives for the installation.
In this case I set up a small EFI boot partition on the NVMe and made the rest of the NVMe an ext4 / root partition. I configured the entire 2.5" SATA SSD to hold the /home directory.
A new check we don’t have built-in tools for yet
We’ve been using Gsmartcontrol for a long time to check the basic health of hard drives. We have a couple of custom live Linux distributions for old and newer hardware with old and new versions of Gsmartcontrol. We also use older versions (2019 and 2022) of PartedMagic for wiping solid state drives and checking drives, but these older versions don’t have a great simple (reliable) way to test SSDs, so we created a script check-ssd to do it. And while check-ssd sometimes doesn’t display every field, it has saved us putting out a system or two where Linux installed on the drive fine, but it had too much wear.
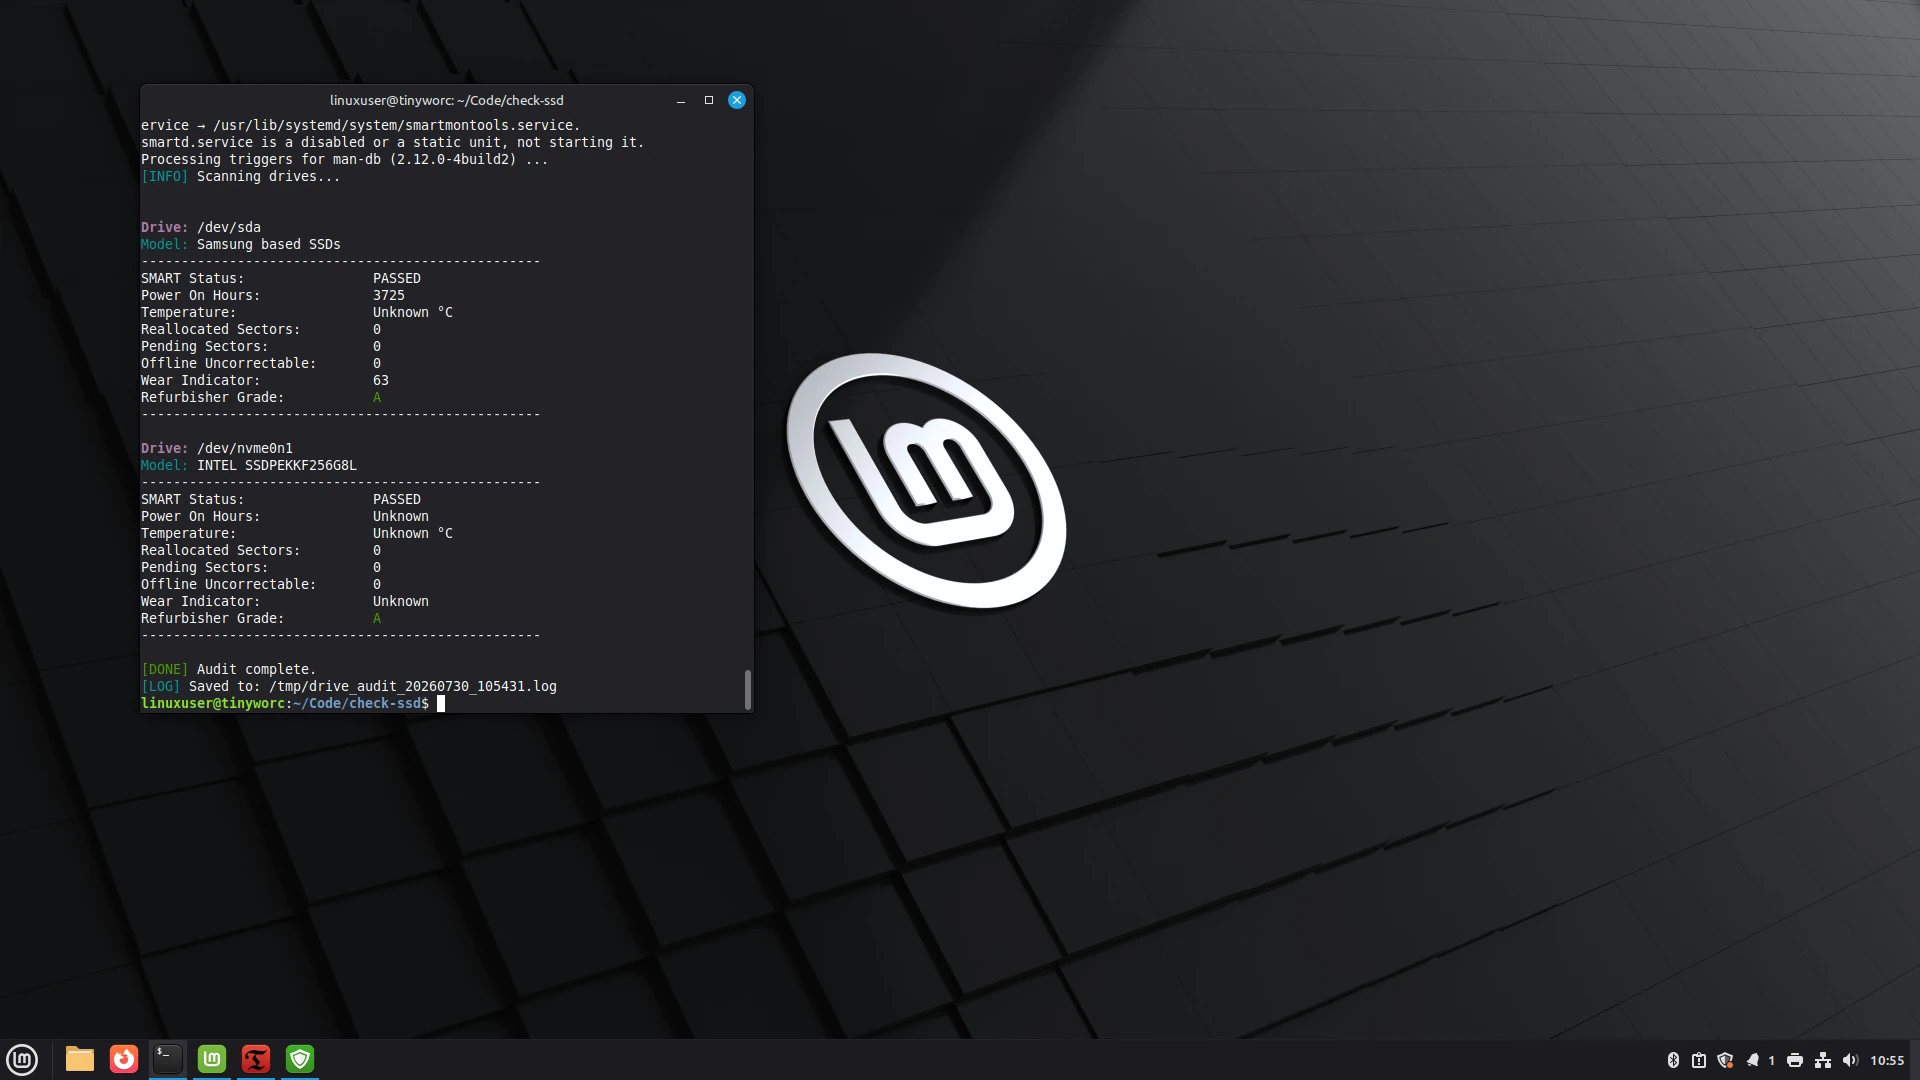 Fig 8. Checking the drives to see if they pass.
One script to rule them all, and in the darkness bind them…
Back when we were installing Xubuntu via PXE I started this whole scripting mess with a script called 1ring. Like 1ring, our current mint-setup script uses git to pull a number of other scripts:
- hardware.sh - a script that gathers system information and produces a PDF of specs on the desktop.
- mint-extras - a script that installs a bunch of other software we think average computer users might want, fixes bugs we’ve found with certain hardware, and adds some nice tweaks like briefly displaying CAPS LOCK when it’s pressed.
- pts - installing Phoronix Test Suite, which we don’t use for benchmarking anymore, but can be used for more exhaustive testing. This is one we might remove in the future.
- update-firmware - a script that queries to see if the hardware is 2015 or newer, and if so, checks for BIOS updates that can be pulled using fwupdmgr.
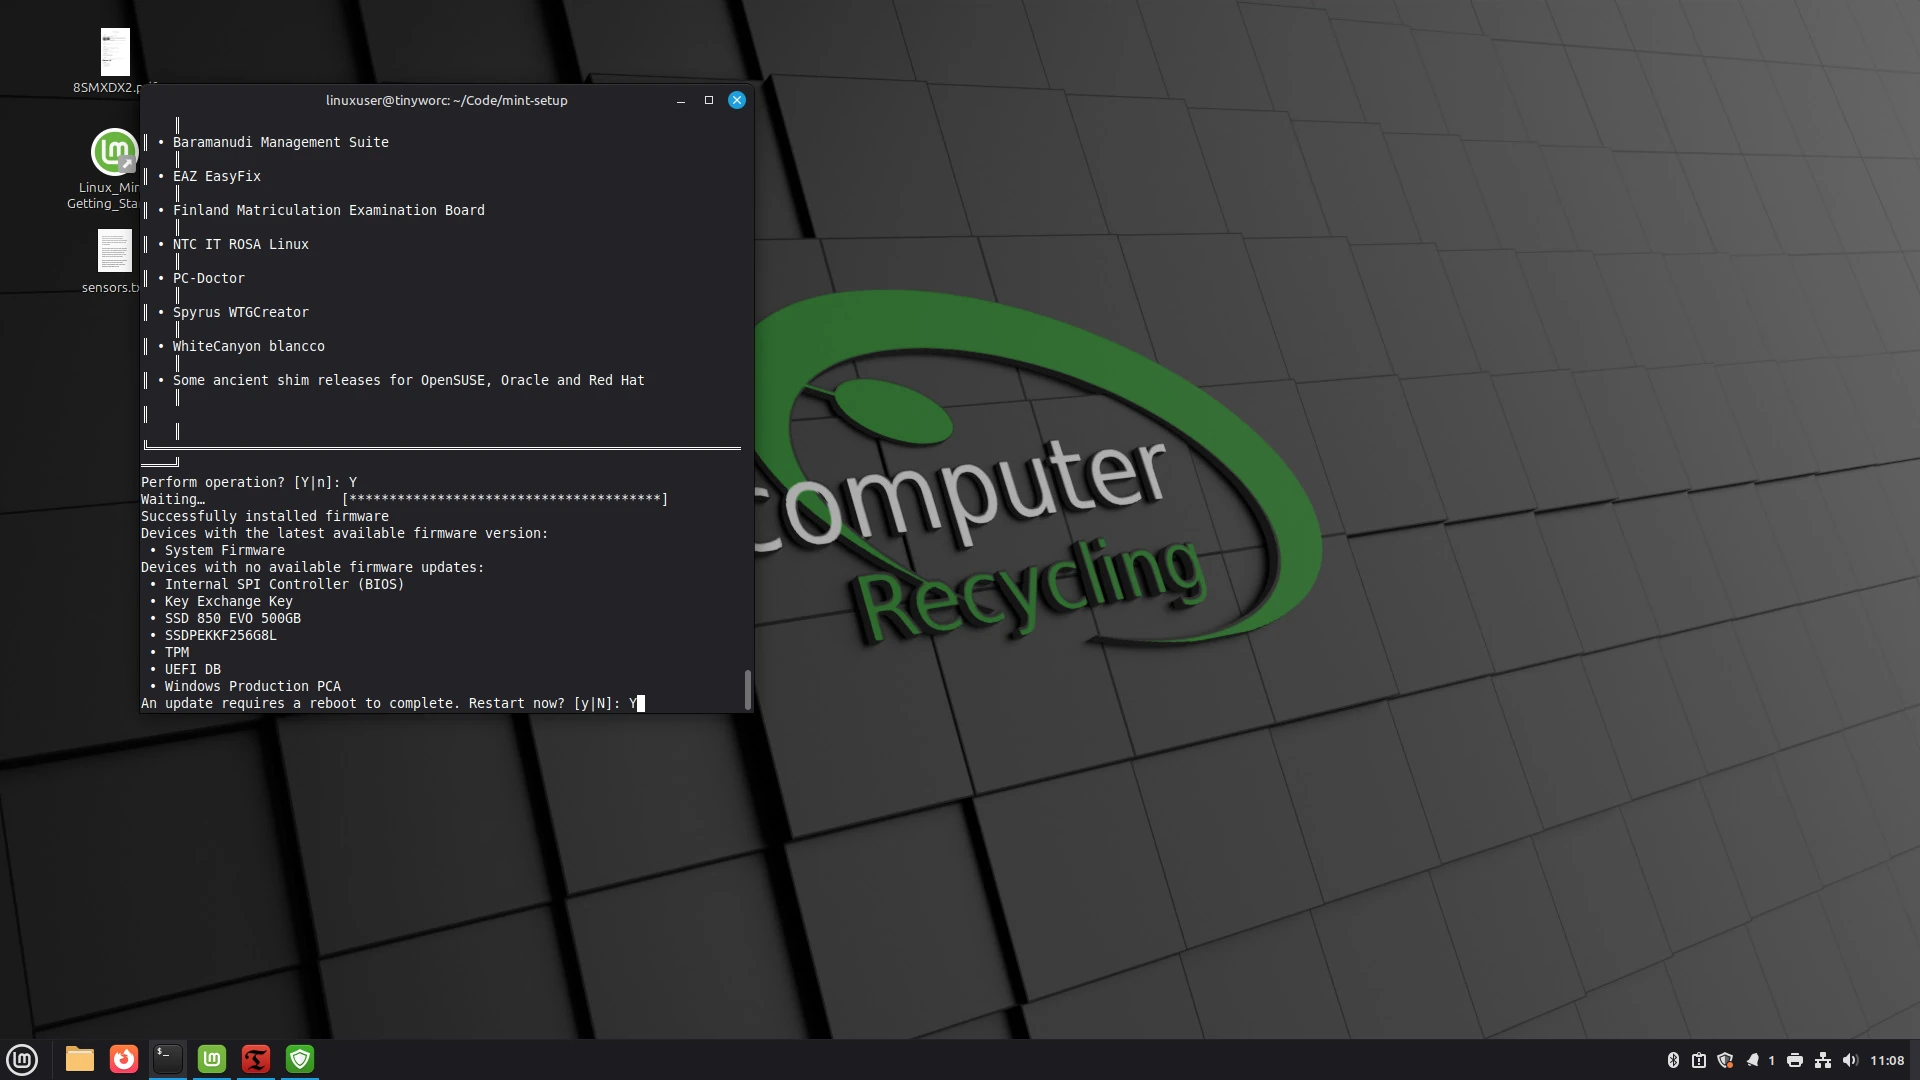 Fig 9. About to update the BIOS.
Cool stuff is happening in the scripts
Over many years these scripts have evolved, and will continue to evolve. Some cool additions we’ve added in the past couple of years have included:
- Custom wallpaper, one based on the Computer Recycling logo, and several from nature photographs I’ve taken in the past couple of years (including a cute parrot and ant).
- Usability hacks like the aforementioned brief display of CAPS and NUM Lock when those keys are pressed.
- If in Canada, the software repository changes to the University of Waterloo - no so great if you’re in B.C., but better for folks on the east coast. We’ll probably add to this soon.
- Some hacks for the XFCE environment for those with lower spec systems, things like making VLC the default for video content.
- Enabling automatic updates.
- Enabling a basic firewall to protect the system a bit more.
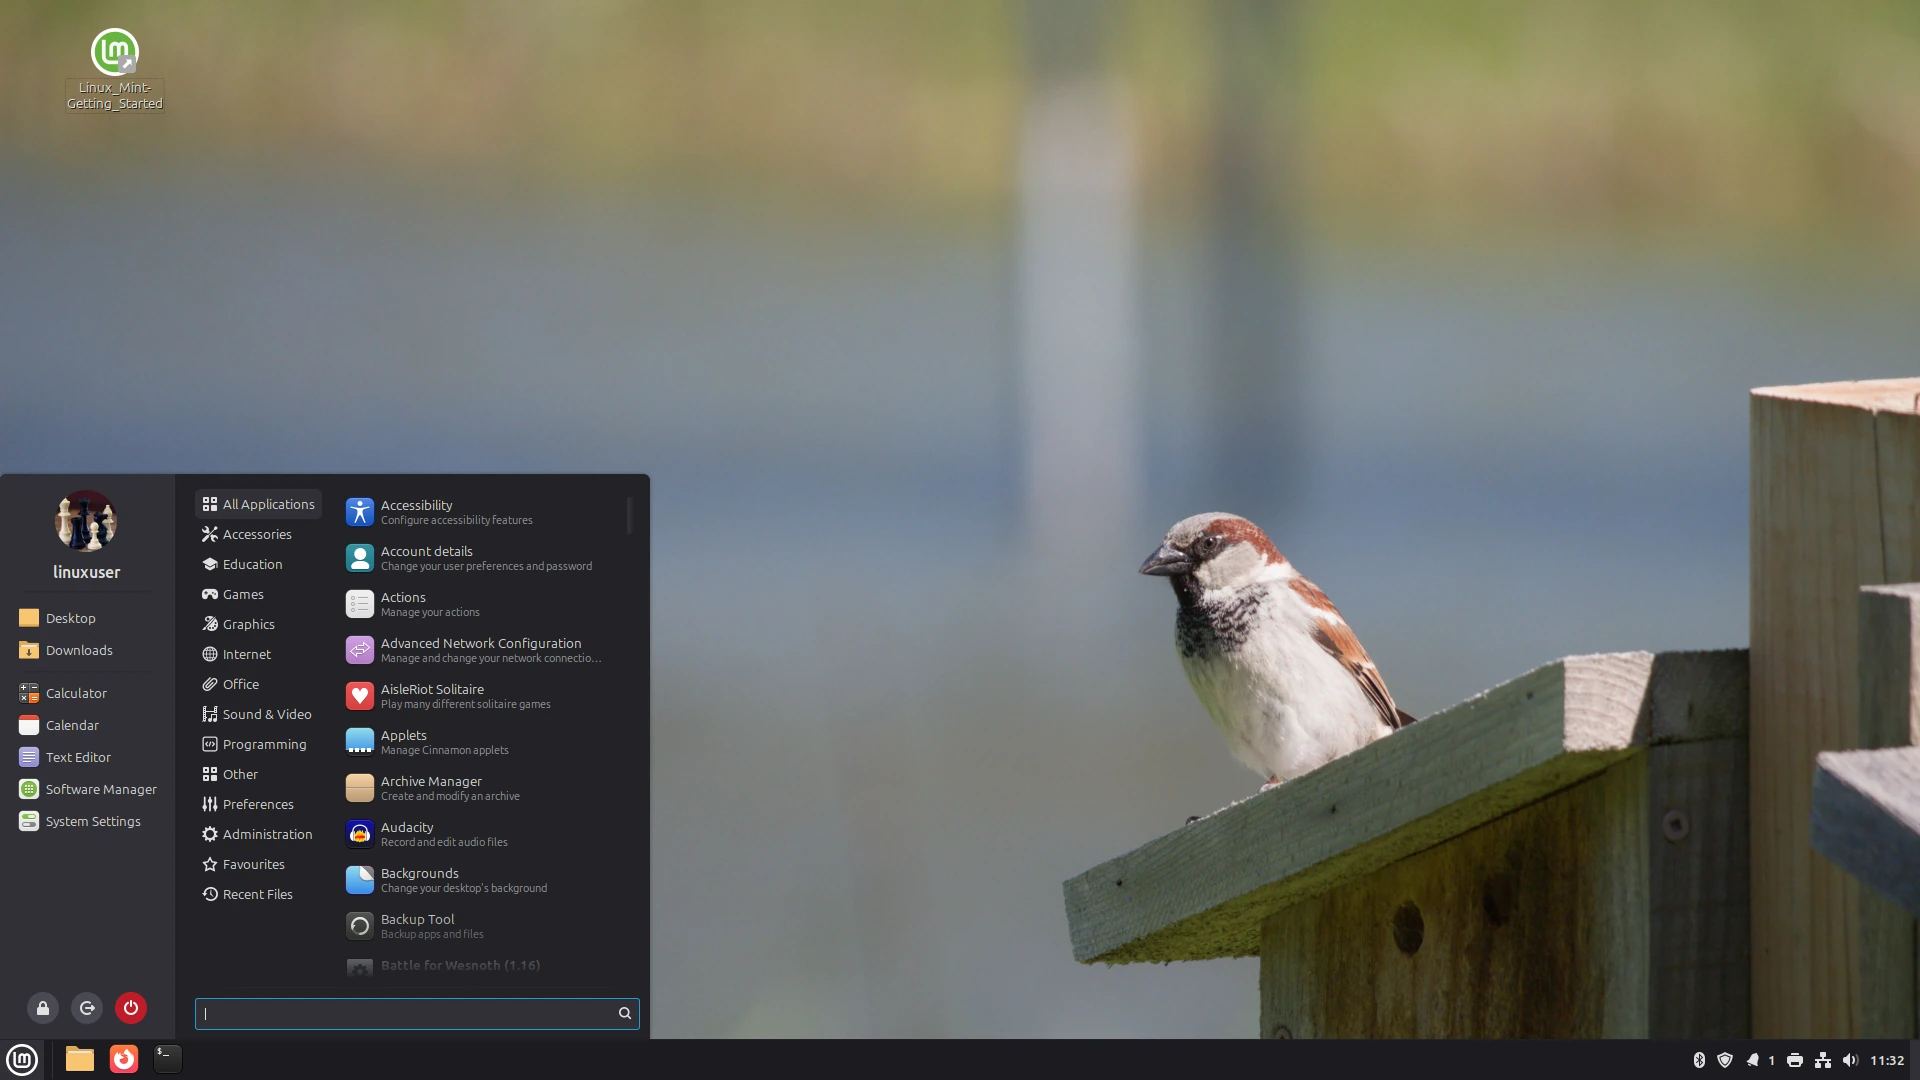 Fig 10. Linux Mint with a custom wallpaper.
A few more tweaks for the World of Retro Computing
The machine wouldn’t be the prize it is without a few more adjustments, so I added some extra “retro”-related software to make the machine a bit more interesting for the person who wins it.
This is just the first, our most modern, and perhaps simplest prize, for the event. I have some other potential prizes in mind, but I’ll have to gauge the time and effort needed to get those prizes ready before the event gets closer.