Printers in 2026 tend to have a host of options, but they also sometimes come with a lot of baggage - a quick search for “manufacturers disabling printers” turns up a lot of interesting results. Sometimes the best printer is the ancient, non-network-capable printer, like the HP Laserjet 1320 printer we have at The Working Centre’s Computer Recycling Project.
[NOTE] The HP Laserjet 1320n is a network-capable printer. The model we have at the project is a non-’n’, non-networked printer.
Creating a network printer from a USB printer is actually surprisingly easy in Linux Mint 22.3.
Step #1 - open Firefox (or your browser of choice) and open the URL http://localhost:631.
Step #2 - click the Administration tab, then enter the username and password you use to administer your system.
Step #3 - on the Administration tab, under the Server section, and Advanced, click the option that says Share printers connected to this system then simply click the Change Settings button.
[WARNING] Do not click the sub-option to Allow printing from the Internet as this could expose you to attacks from outside the Internet, not to mention untold amount of printing.
The HP Laserjet 1320 in the work area of The Computer Recycling Project only has a USB and parallel port on the back of the printer.
 Fig 1. HP Laserjet 1320 has a USB and parallel port on the back.
Initially, I intended to use a Tiny Form Factor PC like a Dell Optiplex 3050 to share the printer. The TFF version of the 3050 draws very little power, and it’s tiny.
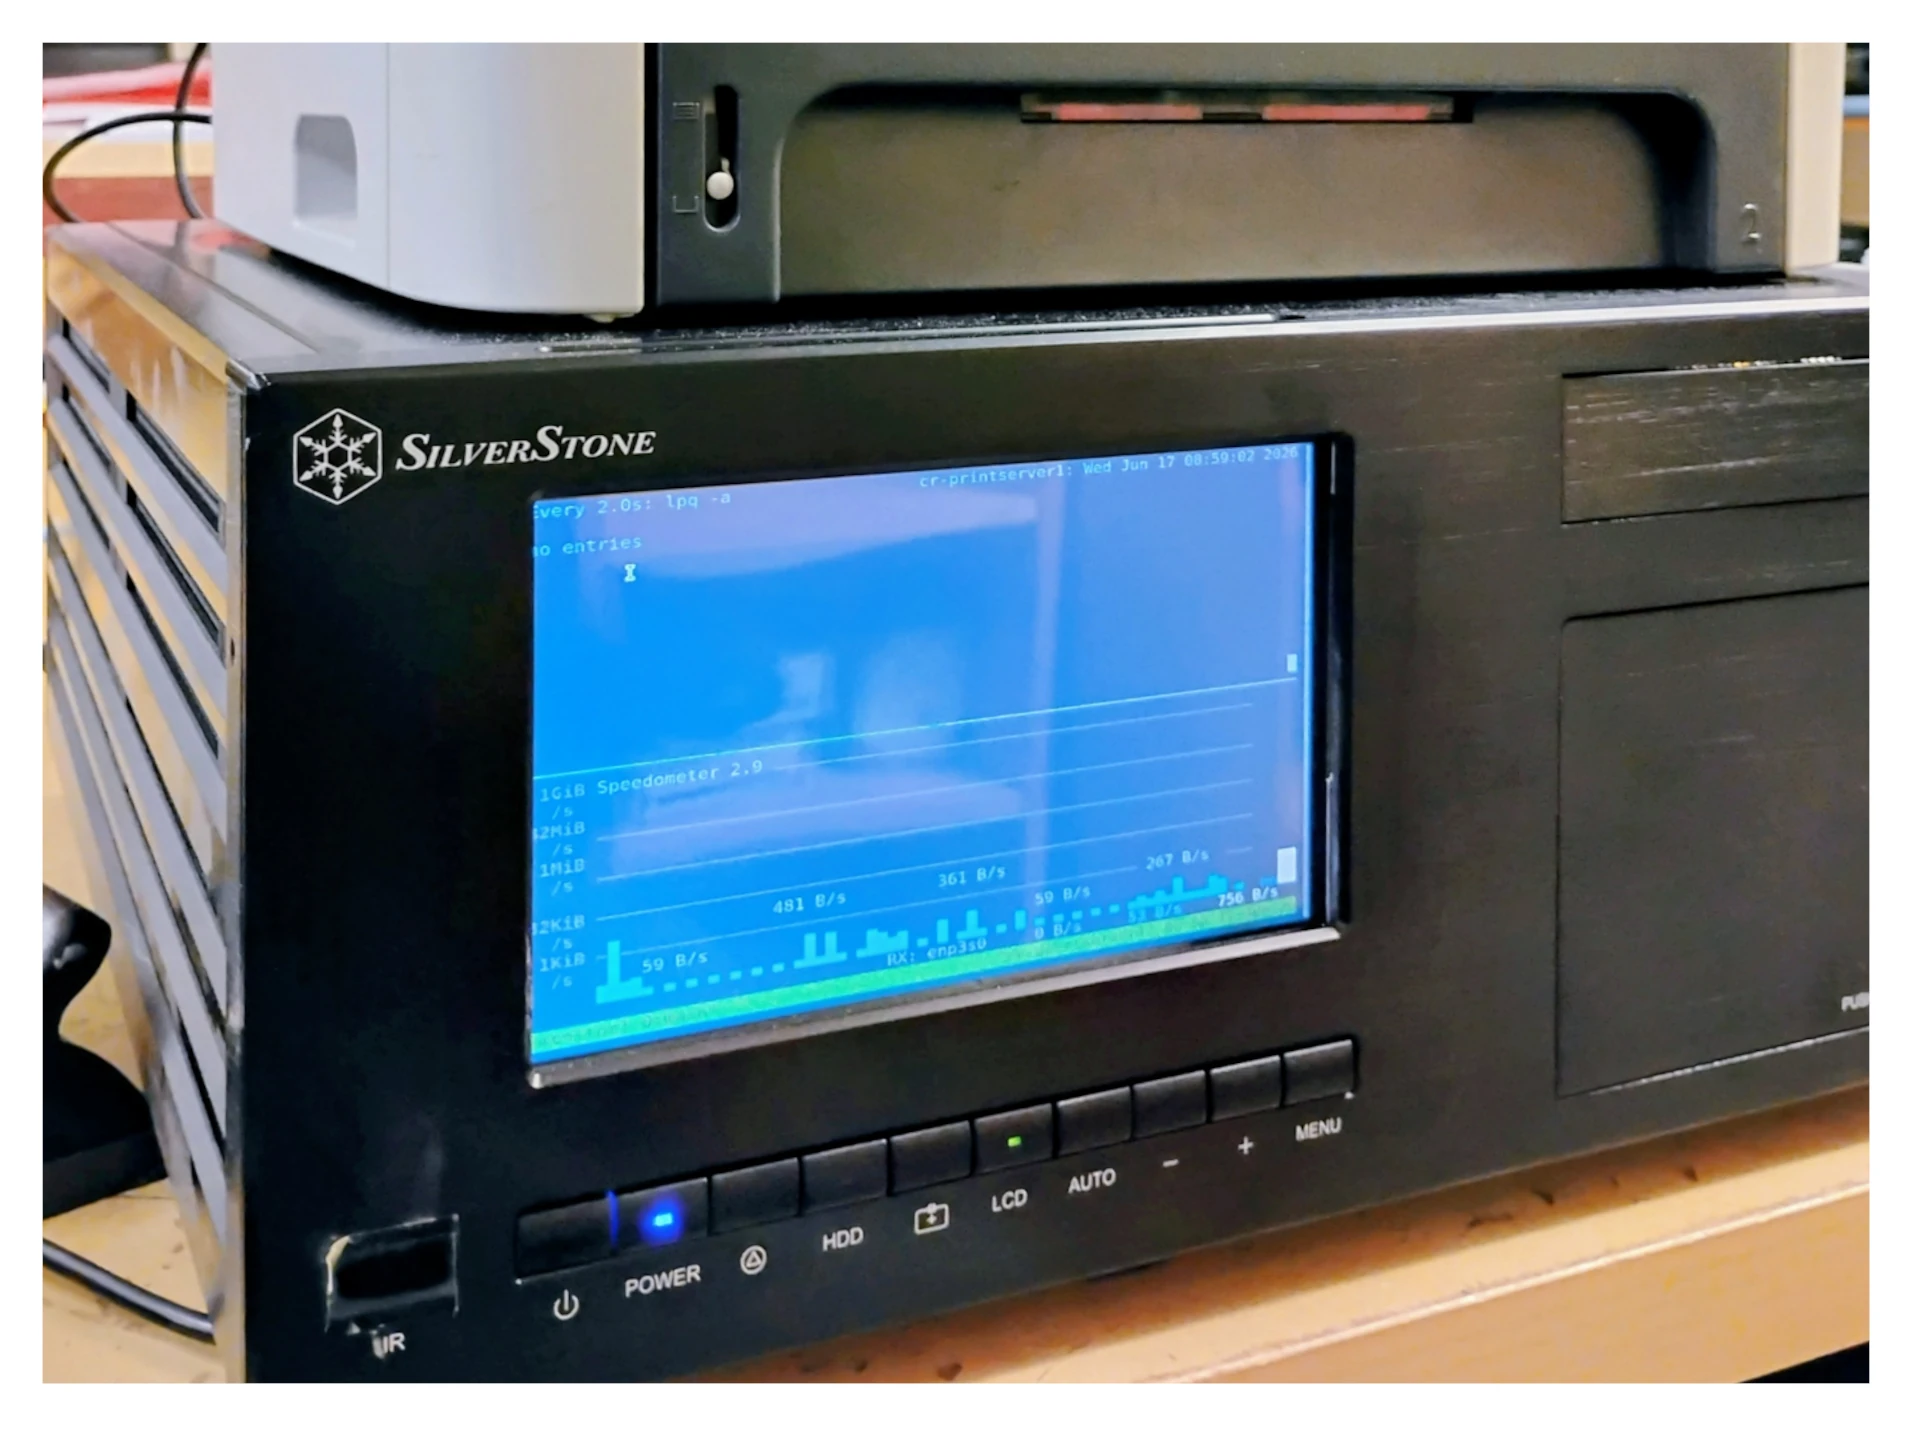
But I also remembered that we had a few SilverStone CW03 cases with a display on the front. This got me thinking it might be nice to be able to see if there are jobs queued for the printer.
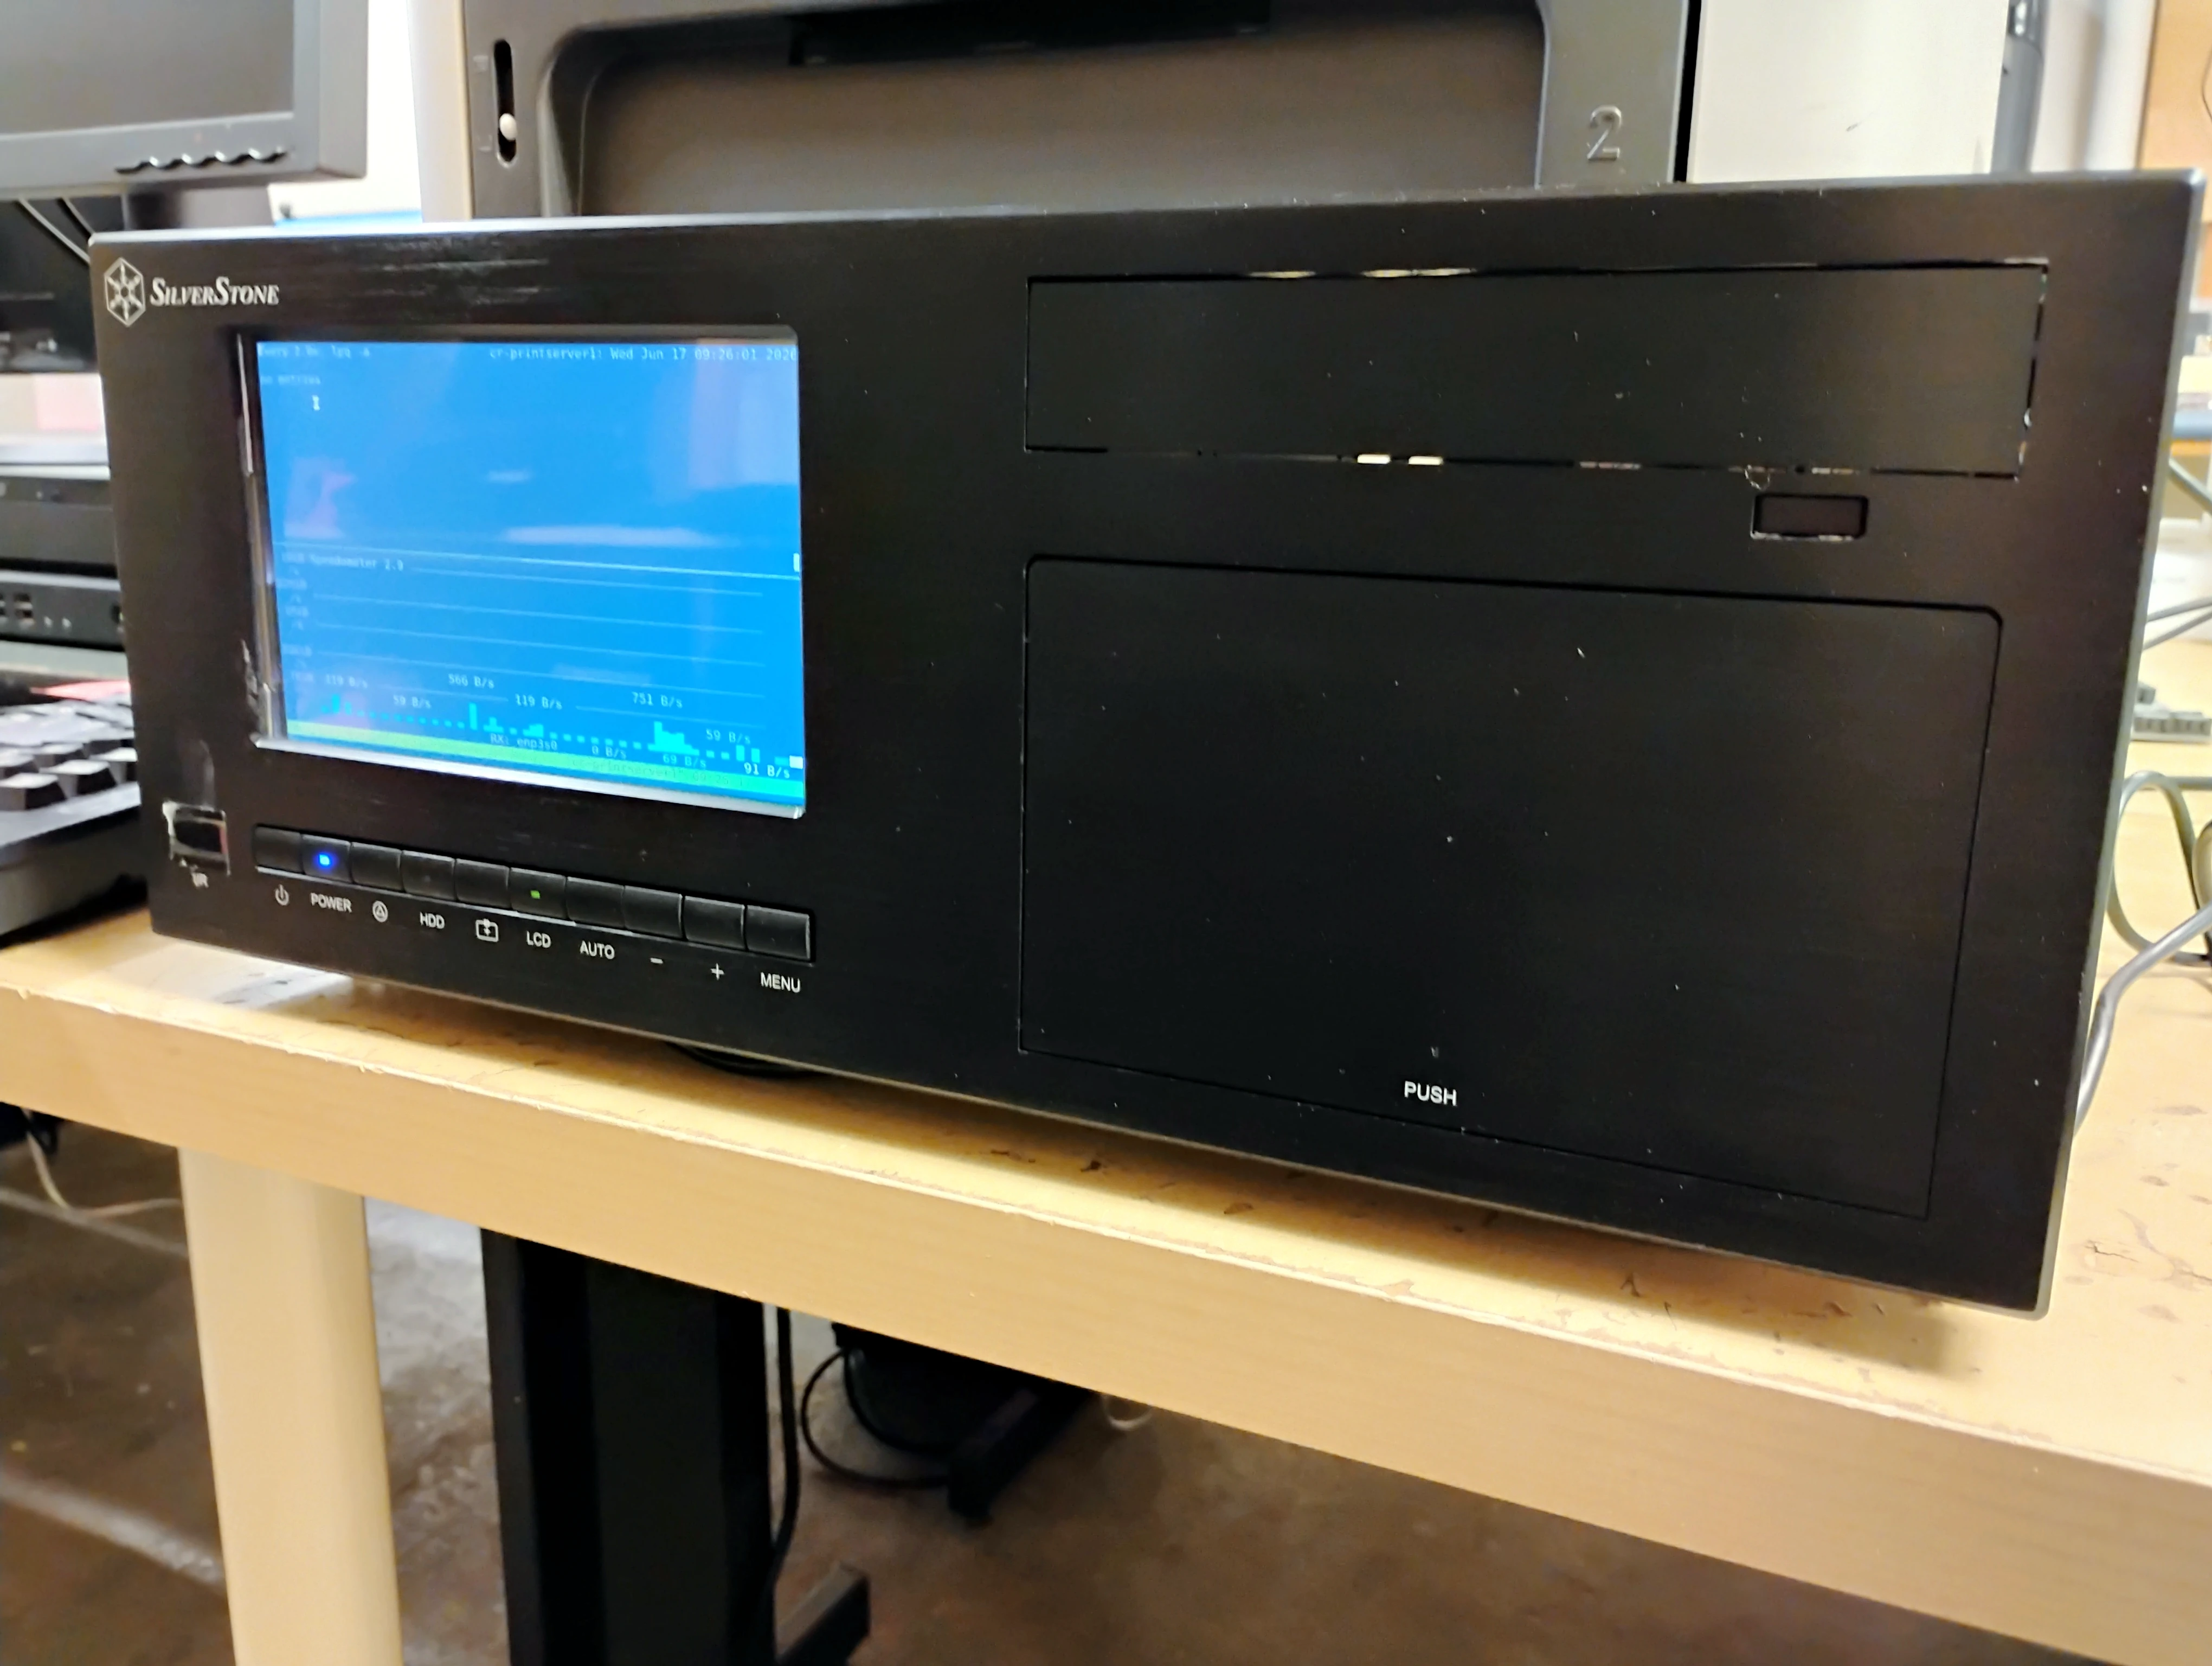 Fig 2. SilverStone CW03 running GNOME terminal, tmux, watch lpr, and speedometer in a split window
The “server” is in actuality a desktop running Linux Mint 22.3 with the steps mentioned above. An unpriviledged user auto-logs into a desktop session, and gnome-terminal is auto-started in full screen mode with tmux launching a watch lpr and speedometer in a split window. This lets us see any files queued for the printer at the top, and see any traffic the “print server” is getting at the bottom.
To set up the terminal with the measuring tools I first needed to install the tools:
sudo apt install tmux speedometer -y
The watch and lpr commands should already be a part of a Linux Mint install, but tmux and speedometer are extra software. Next open the menu and type startup, you should see a program called Startup Applications. Launch the Startup Applications program and click the Add button. In the window that opens type:
gnome-terminal --full-screen -- bash -c "tmux new-session -d -s monitor -n main 'watch lpq -a' && tmux split-window -v -t monitor:0 'speedometer -rx enp2s0' && tmux select-pane -t 0 && tmux attach -t monitor"
[NOTE] You will have to replace the
speedometer -rx enp2s0with your network interface. Mine is enp2s0, but depending on your networking hardware your device will likely be called something else. To find your network device see below.
Type in a terminal:
ip addr
The result will be something similar to:
chaslinux@cr-workstation05:~$ ip addr
1: lo: <LOOPBACK,UP,LOWER_UP> mtu 65536 qdisc noqueue state UNKNOWN group default qlen 1000
    link/loopback 00:00:00:00:00:00 brd 00:00:00:00:00:00
    inet 127.0.0.1/8 scope host lo
       valid_lft forever preferred_lft forever
    inet6 ::1/128 scope host noprefixroute
       valid_lft forever preferred_lft forever
2: enp2s0: <BROADCAST,MULTICAST,UP,LOWER_UP> mtu 1500 qdisc fq_codel state UP group default qlen 1000
    link/ether 94:c6:91:d4:b3:80 brd ff:ff:ff:ff:ff:ff
    inet 172.26.107.142/24 brd 172.26.107.255 scope global dynamic noprefixroute enp2s0
       valid_lft 14120sec preferred_lft 14120sec
    inet6 fe80::4fa:e6b0:439b:a1e7/64 scope link noprefixroute
       valid_lft forever preferred_lft forever
Look for an IP address (in the example above it’s 172.26.107.142), then look for the interface that IP address is, in this case #2, or enp2s0. Put that interface into the place right after the speedometer -rx Pay special attention to the double and single quotes.
Of course, you don’t need the fancy screen, or the watch lpr and speedometer commands to serve up a printer as a network printer, simply log into the http://localhost:631, click the Administration tab, log-in, and click the print sharing checkbox, then apply the change. This is just a nice little hack that could come in handy if jobs get stuck, or don’t appear to be reaching the printer. It’s a bit of fun.